mosaic, tiles, garden, ball, Ceramic, Glass, Mistakes, Help, Advice, Patterns, Designs, Granville
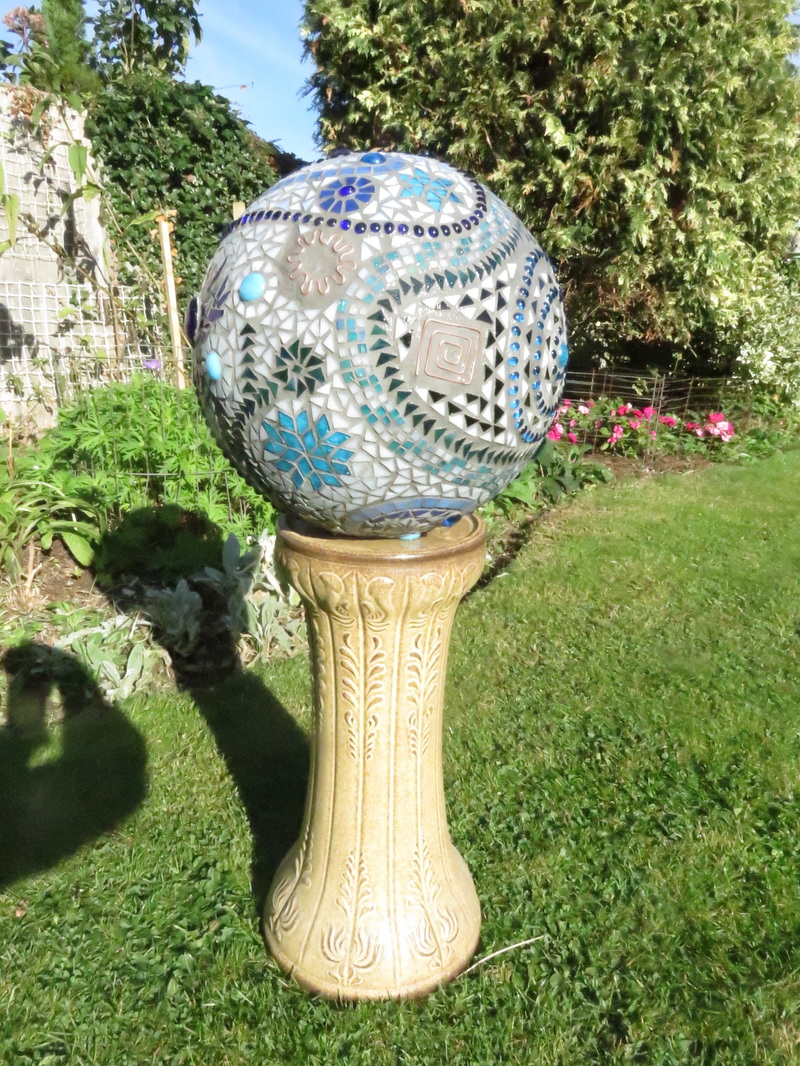
Mosaic Garden Ball
My wife saw a highly decorated mosaic garden ball on a recent open garden visit and, without consideration for my opinion, decided that I should make her one as a present. I’ve never been too keen on them but in the event I quite enjoyed the task. It’s nice to make something where the pattern is so fluid and you can sort of make things up as you go along. Despite my initial reservations I'm quite pleased with the outcome and for the moment at least it has pride of place in our conservatory.
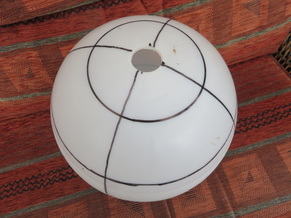
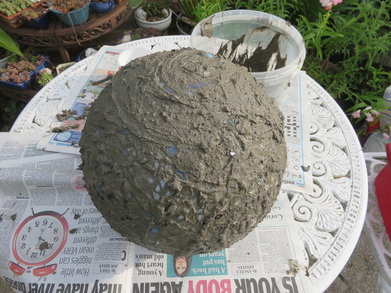
My biggest challenge was finding a reasonable sized, fairly solid sphere on which to lay the tiles. I wanted one larger than the bowling bowl size which most people seem to have used on the finished designs I've seen on the internet. I eventually found this one, which is over 12" diameter, at a car boot sale.
My biggest challenge was finding a reasonable sized, fairly solid sphere on which to lay the tiles. I wanted one larger than the bowling bowl size which most people seem to have used on the finished designs I've seen on the internet. I eventually found this one, which is over 12" diameter, at a car boot sale.
|
In the early stages I marked it out into precise sectors which turned out to be a big mistake. I had already decided to do the design in glass rather than ceramic tiles since it's a material I'm more familiar with and also since I have a large amount of small waste glass fragments perfect for the job. However since I was using glass I realised that not only did the planning lines show through the glass but they were also drawn in indelible ink. I ended up having to rub many of them off with sandpaper and the rest I hid under strategically placed grouting. |
|
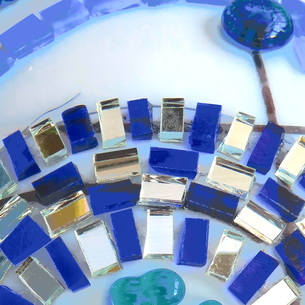
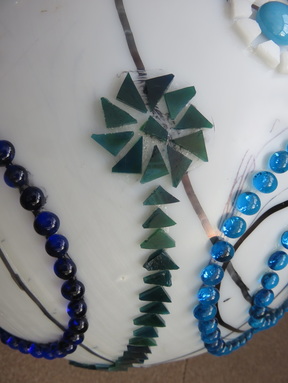
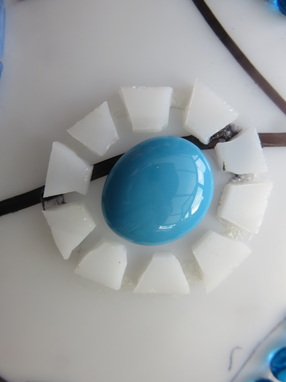
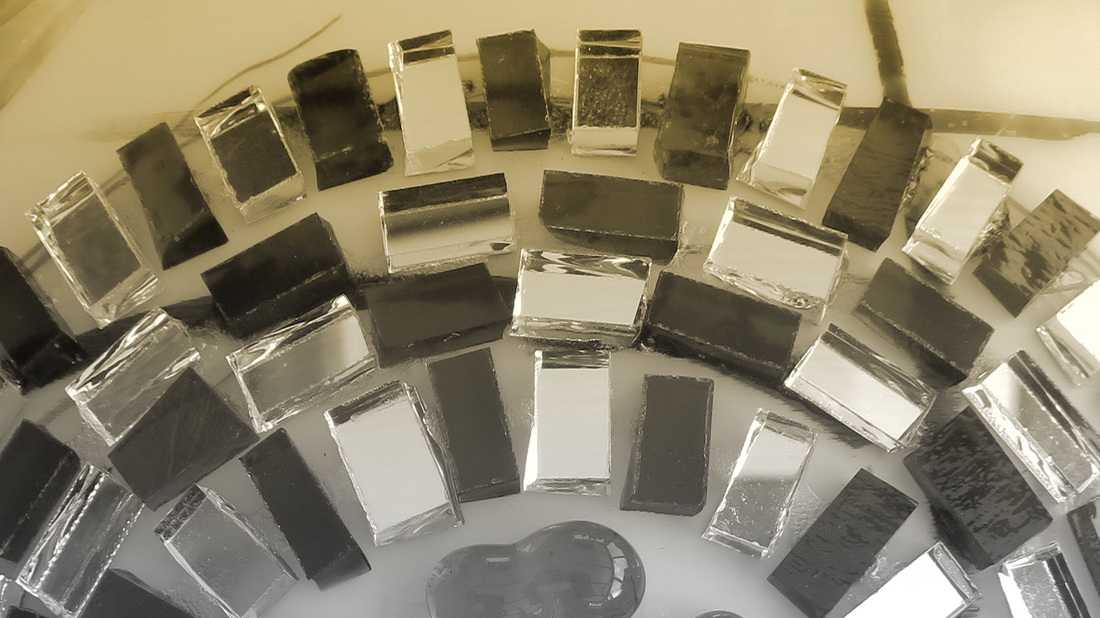
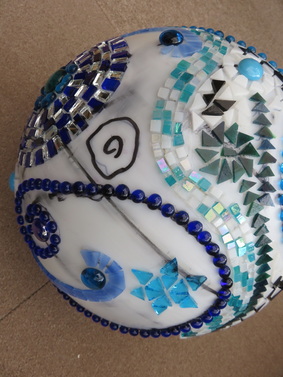
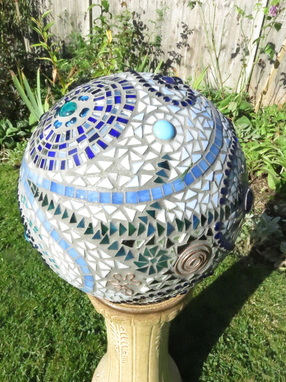
I wanted to keep the design primarily blue but as I progressed I ended up adding in a few other complimentary colours such as white and turquoise plus a number of mirror tiles as a contrast. Most of these were cut in squares or triangles with sides very approximately 1cm long. Each feature that I did was laid out on paper first so that when I came to glue them in place I simply had to move them into place. It also gave me opportunity to see that my design worked before permanently fixing it in situ.
I wanted to keep the design primarily blue but as I progressed I ended up adding in a few other complimentary colours such as white and turquoise plus a number of mirror tiles as a contrast. Most of these were cut in squares or triangles with sides very approximately 1cm long. Each feature that I did was laid out on paper first so that when I came to glue them in place I simply had to move them into place. It also gave me opportunity to see that my design worked before permanently fixing it in situ.
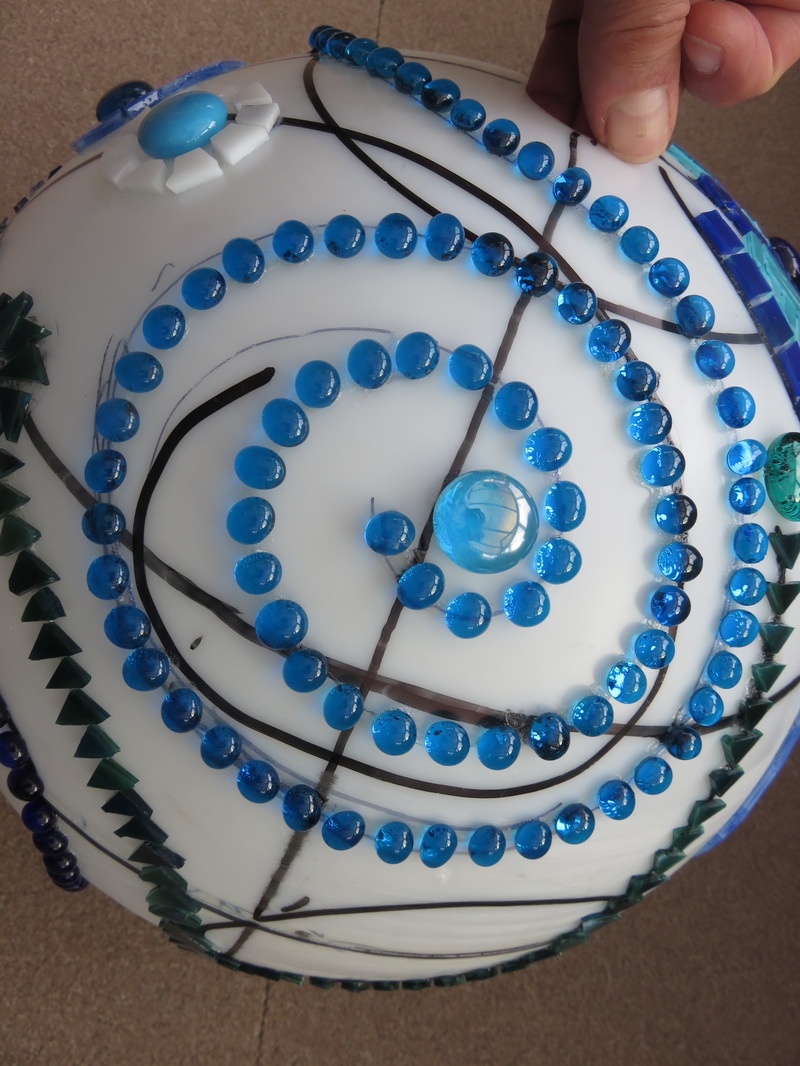
I picked up a handful of mixed size flat backed blue cabochon beads from EBay and added in a few random copper wire shapes which I made by stripping a few feet of heavy duty electrical cable. |
|

|
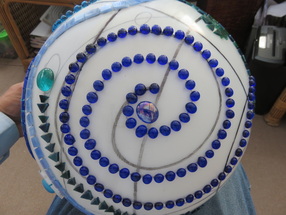
One thing I would emphasise with any mosaic is to test your adhesive first. I prefer to use tile and grout but it’s very expensive to buy for a one off project. In this case I chose to glue my tiles in place with general purpose adhesive (having discovered that neither super glue nor my normal rubber based glass adhesive would work). It did give me a few problems though especially with the small cabochons which just would not stay in place. At one stage I was losing 25% of the tiles and beads I had glued in placed next time I started work. Gradually though by using more glue it gained enough stability to last it through to the grouting stage, at which time the grouting firmed everything up perfectly. I think the fact that I was gluing onto a sphere caused problems too since unless I worked on a very small area at a time (which I could keep almost flat) gravity always seemed to slide the beads out of place.
One thing I would emphasise with any mosaic is to test your adhesive first. I prefer to use tile and grout but it’s very expensive to buy for a one off project. In this case I chose to glue my tiles in place with general purpose adhesive (having discovered that neither super glue nor my normal rubber based glass adhesive would work). It did give me a few problems though especially with the small cabochons which just would not stay in place. At one stage I was losing 25% of the tiles and beads I had glued in placed next time I started work. Gradually though by using more glue it gained enough stability to last it through to the grouting stage, at which time the grouting firmed everything up perfectly. I think the fact that I was gluing onto a sphere caused problems too since unless I worked on a very small area at a time (which I could keep almost flat) gravity always seemed to slide the beads out of place.
|
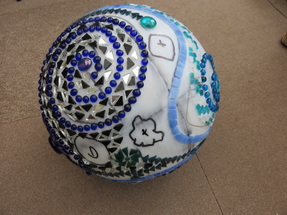
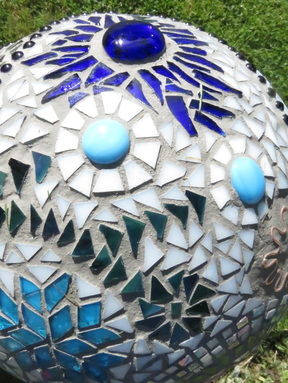
Anyhow it all came together eventually and I was ready for grouting which has to be one of the most satisfying feelings ever as all the imperfections, gaps and unwanted layout lines disappear in one fell swoop. Cleaning and polishing is fun too but as with any form of tiling it is absolutely essential that you get as much grout off the surface of the tiles before it dries. If you leave it too long you will be totally unable to remove it. |

|

|
|
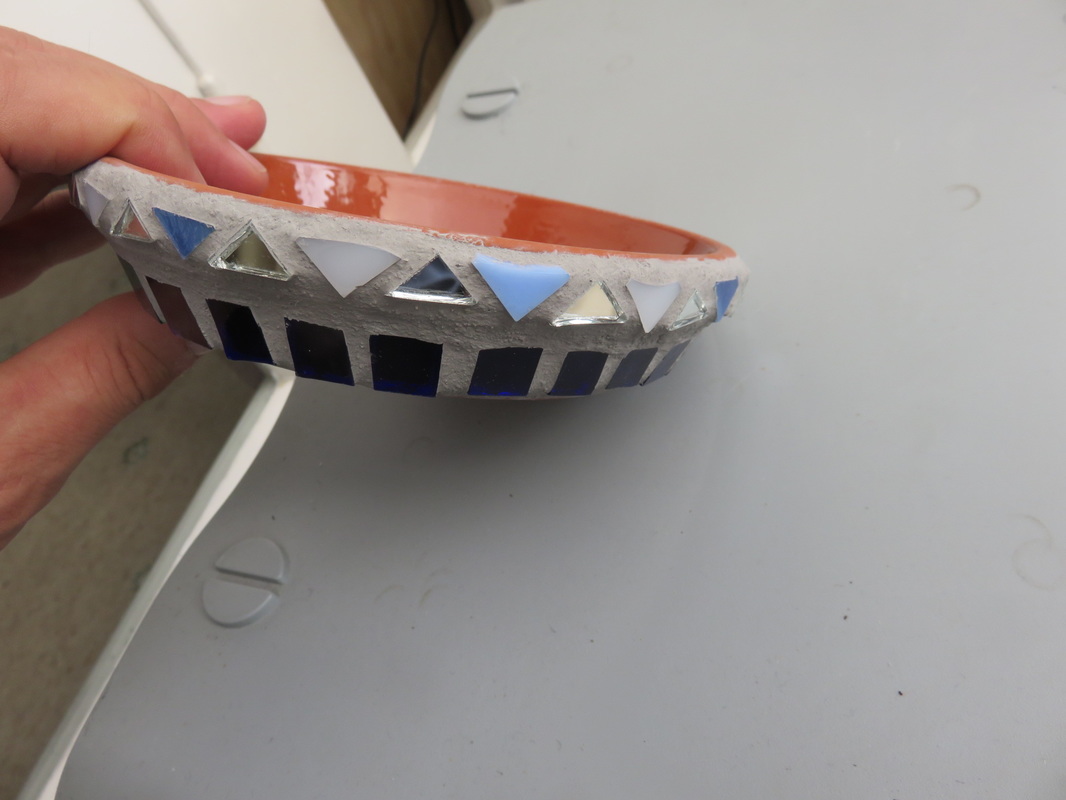
This piece was intended to go outdoors but just for the moment I’m a little precious about it and have made a small stand from a mosaic covered plant saucer to stop it rolling around. The saucer was surprisingly difficult to get mosaic to stick too – no adhesive would work to stick glass tiles on a plastic saucer. It took me almost a week to realise that the problem wasn’t the adhesive but the fact that the plastic saucer was flexible and hence the slightest movement in it caused the tiles to come away. I solved this by using a ceramic saucer as a base and have had no problems since
This piece was intended to go outdoors but just for the moment I’m a little precious about it and have made a small stand from a mosaic covered plant saucer to stop it rolling around. The saucer was surprisingly difficult to get mosaic to stick too – no adhesive would work to stick glass tiles on a plastic saucer. It took me almost a week to realise that the problem wasn’t the adhesive but the fact that the plastic saucer was flexible and hence the slightest movement in it caused the tiles to come away. I solved this by using a ceramic saucer as a base and have had no problems since

|
|
|
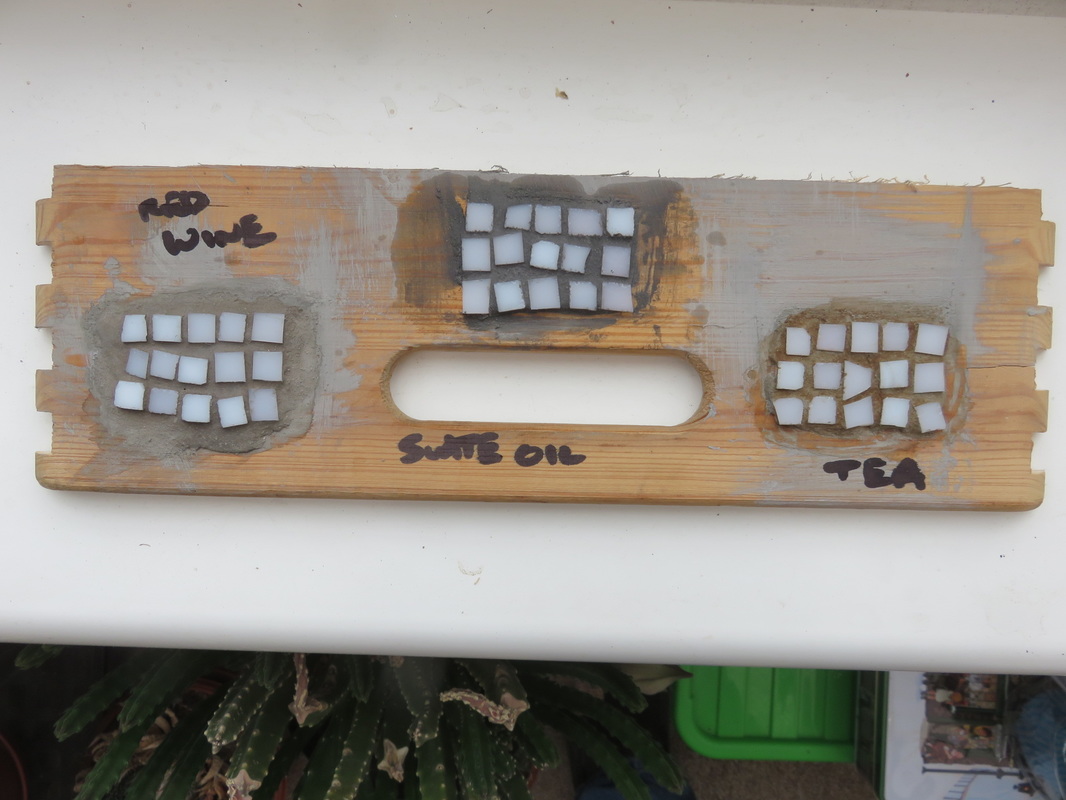
One final tip concerns darkening your grouting. Many people prefer to see a mosaic when its wet since it brings out the shine of the tiles and darkens the grouting. I have done a great deal of reading and testing on this subject (see the pictures attached) and finally come to the conclusion that the best way to darken grouting once it’s on and dry is by use of a very fine oil. Don’t use anything too heavy or greasy since it will attract dust. I had some slate oil in the house which I used and which seems to have worked fine. So much so that I also gave my large and precious roman floor panel mosaic, which I made several years ago, the same treatment. |
|
