Stencils, Stencilling, Cutting, Printing, Paper, Help, Advice, Patterns, Designs, Granville
Stencilling
|
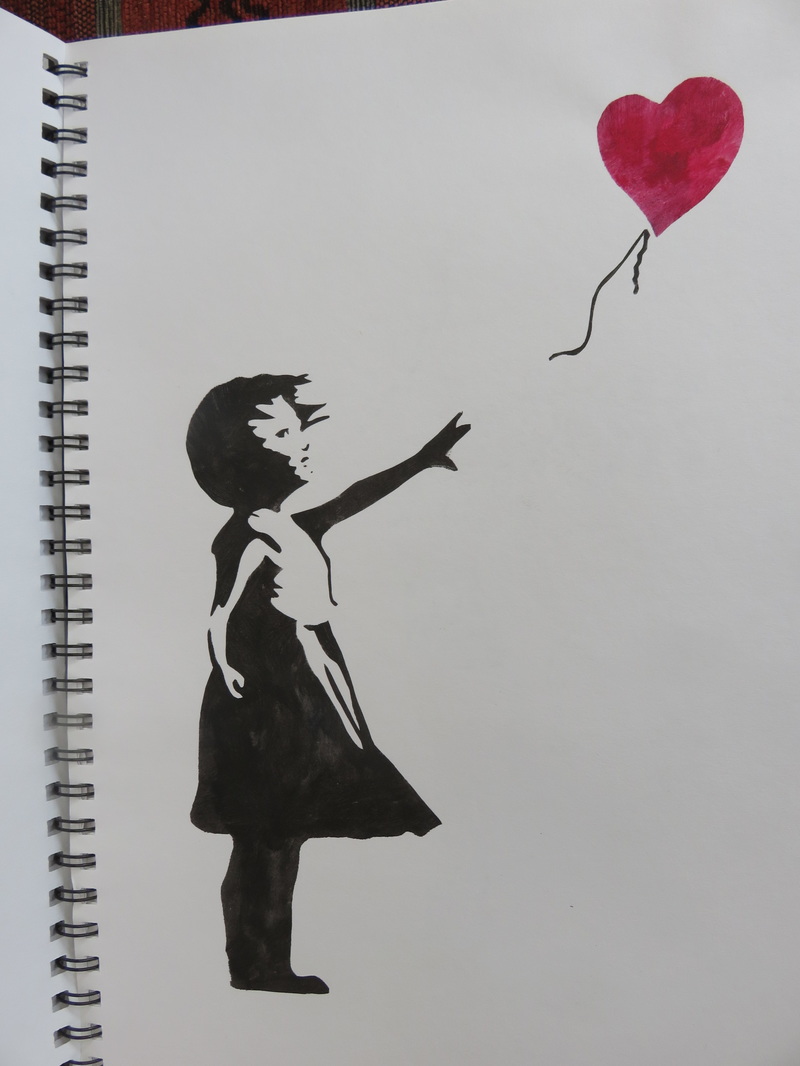
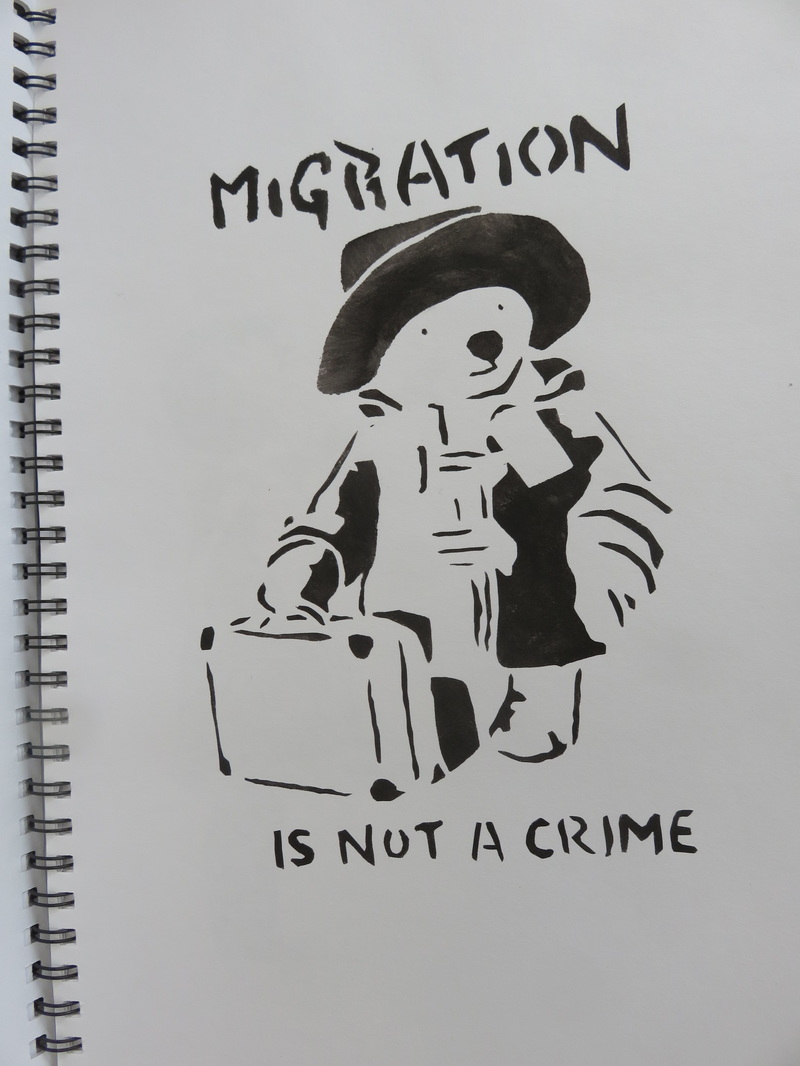
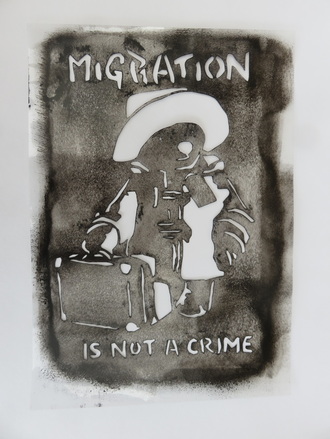
When you look at the stencils on these pages it’s important to remember that they are not simply done from pre-cut artwork. The skill and pleasure in producing these has been in finding the design, producing the artwork and cutting the stencil itself. Some of them are copied from great artists like Banksy, some are taken from pictures or photographs and others directly from illustrations.
Once I find a design I like, I need to obtain an electronic copy by whatever means I can. Sometimes it’s a download, sometimes it’s a cut and paste, sometimes it’s even a photograph from my computer screen. I’ve even been known to blow up a picture on my screen and photograph it in sections to get sufficient details to allow me to make useable stencils. When I have the basic artwork I set about resizing the image and separating the colours. I have tried to show pictures of the stencils themselves so that you can usually work out how many colours have been used. I use a free software package called GIMP for this which you can download from the internet. It’s one of the best image manipulation tools I’ve found and, although it does take a little effort to learn, that became part of my pleasure in the overall project. |
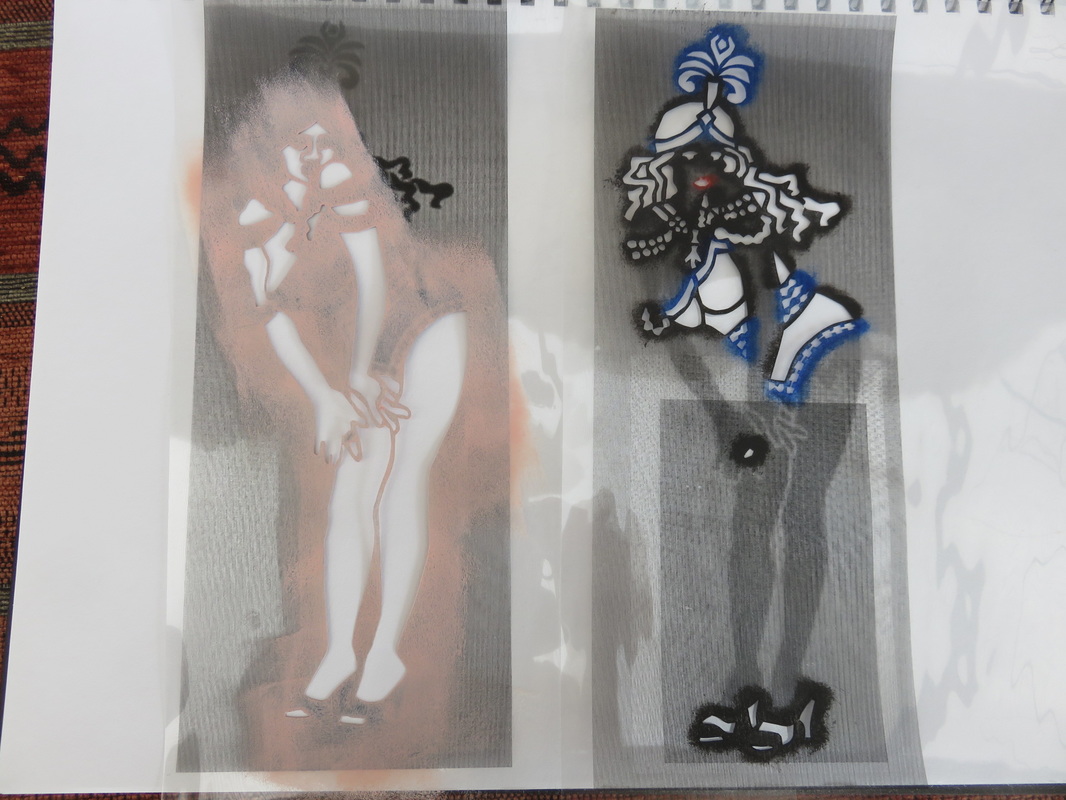
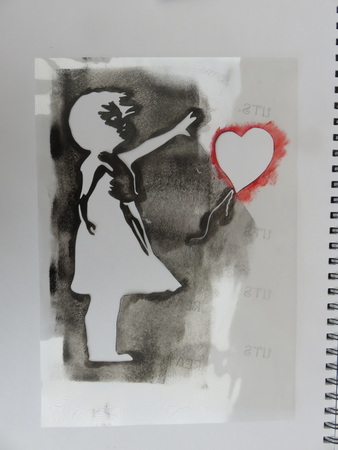
GIMP allows me to separate the original artwork into a limited number of colours. I then use my black and white printer to produce monochrome prints for each of the colours I intend to use. Each of these will be different and show only part of the image. Provided they are stencilled correctly and aligned accurately at the stencilling stage the individual prints will produce the whole picture. I print each colour directly onto a printable plastic OHP transparency. Hardly anyone uses these nowadays and you can pick them up for almost nothing. I bought several boxes, each with 100 slides, at a car boot sale for just 50p per box. They’re ideal material since they’re thin enough to cut with a sharp craft knife yet thick enough to use several times for stencilling. If you’re considering cutting stencils I wouldn’t even consider any other material.
The fun continues with cutting the stencils which is a matter of perseverance and patience. The final quality of your print is all down to how well you cut your stencil. Small errors can be patched up using tape and a judicious re-cut so don’t worry too much if you make a mistake. You don't need to buy an expensive knife for this but make sure your blade is very sharp. I suggest you use a new blade for each stencil you cut. |
|
Template
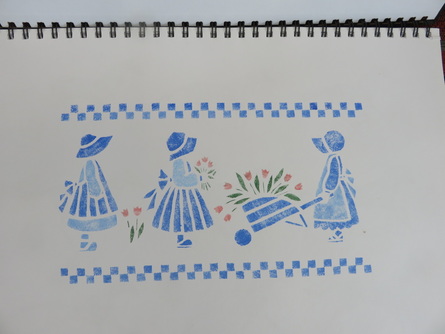
This is the first stencil I did and is intended to form a continuous border by the use of repeat printing |
|
Template
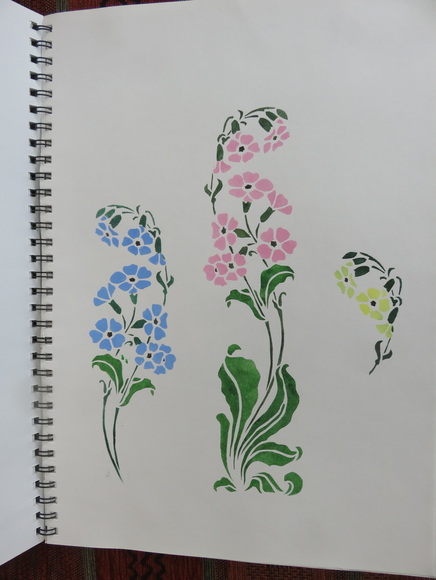
Note that these flowers are all produced from the same stencil - some by reversing the print and some by stencilling just selective sections |
|
|
Template
|
Template
|
|
Template
|
The best tip I can give is to use spray adhesive on the stencil before you start work with your stencil brush. This is quite expensive but places like the The Works and The Range do a budget version which serves its purpose and seems to last forever. You can stencil without spray adhesive but it will allow your stencil to cling to your paper much better and stop paint bleeding under the stencil edges giving a much more professional finish.
Buy a few stencil brushes off EBay, buy your acrylic paints from a cheap hobby shop like the ones mentioned above, brush with a dappling action (which you can see illustrated all over the internet) and make sure that multiple stencil sheets align perfectly. One trick I use is to align all your slides one on top of the other then with a hole punch make a couple of location holes somewhere near the edge. Using a couple of pieces of masking tape positioned on your paper for protection you can then stencil exact positioning holes for your first and all subsequent slides. It does work and is especially helpful if you’re stencilling over a number a sessions.
|
Template
This should actually be printed in a circular arrangement but I was limited by the size of my notebook |

Template
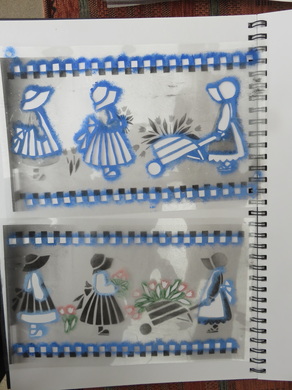
Note that this is a repeat template which has been double printed to create a short border
Note that this is a repeat template which has been double printed to create a short border
|
|

|
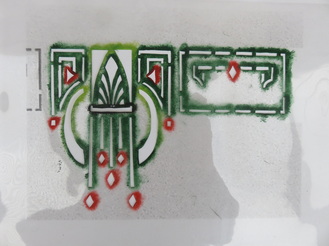
Template
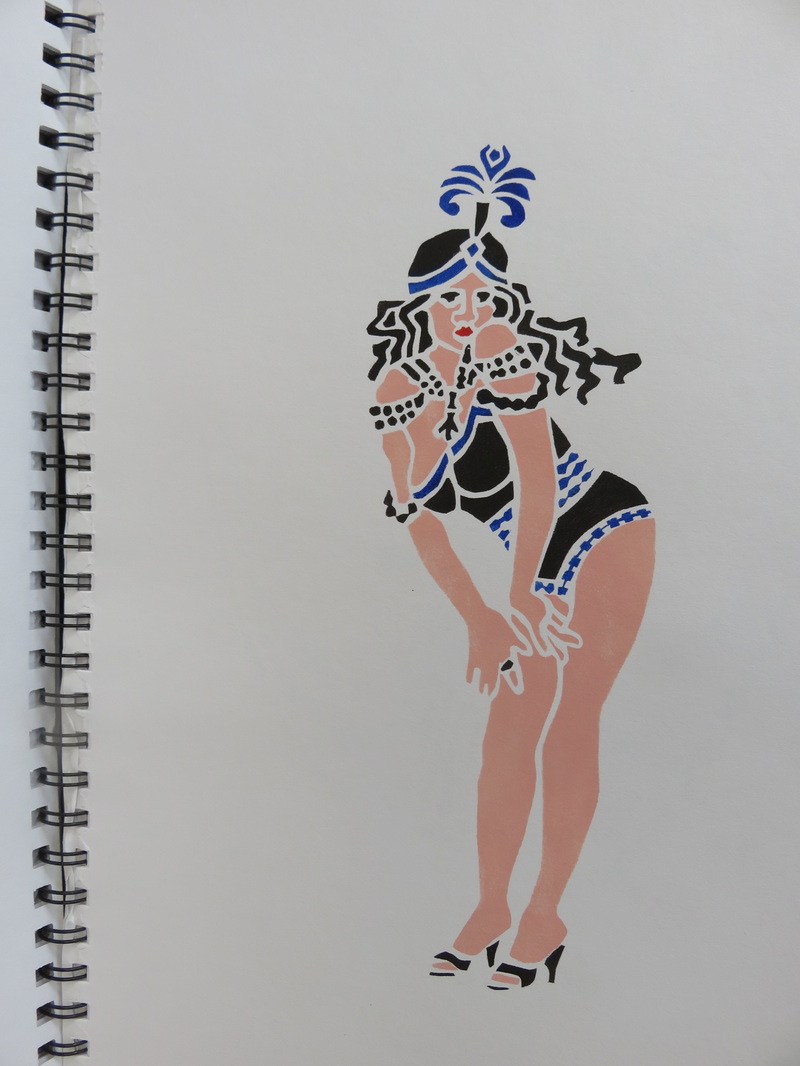
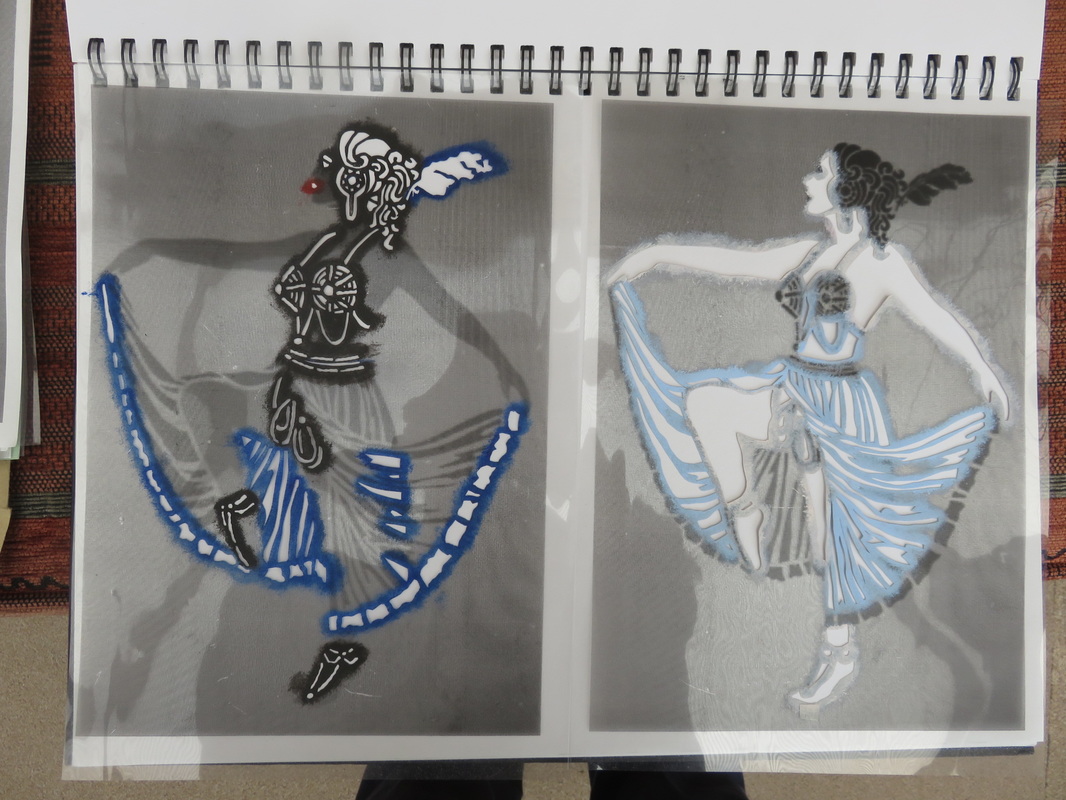
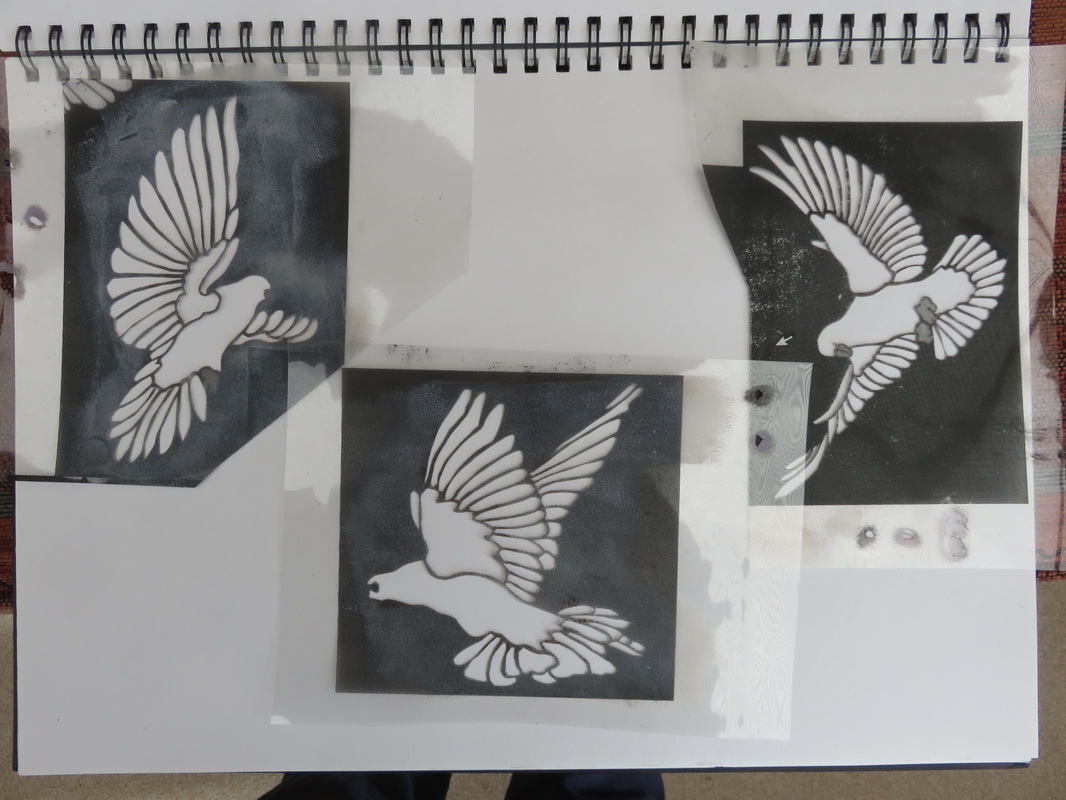
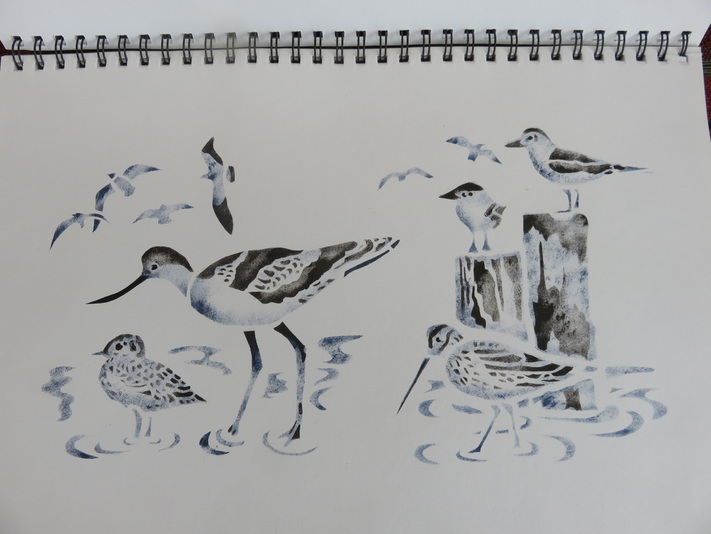
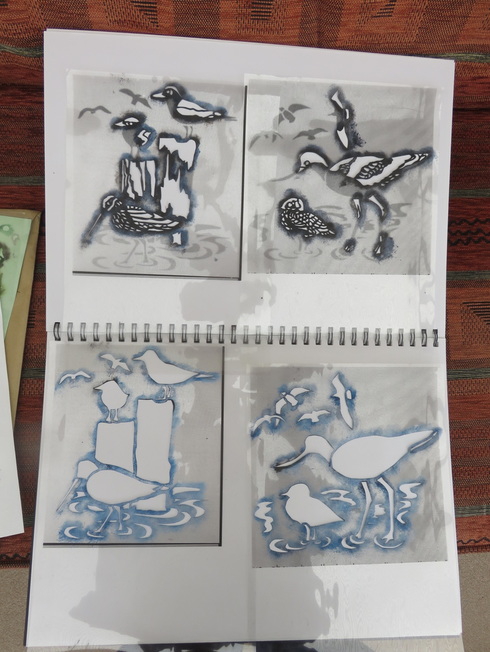
These stencils were very difficult to cut without breaking the links between the feathers but by using spray adhesive you can see that the effect works well |
Template
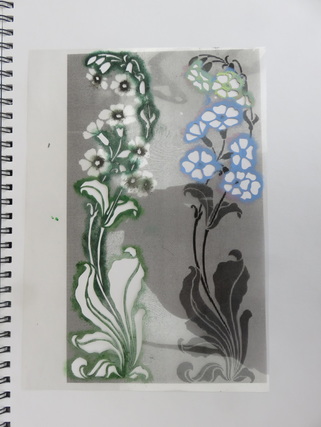
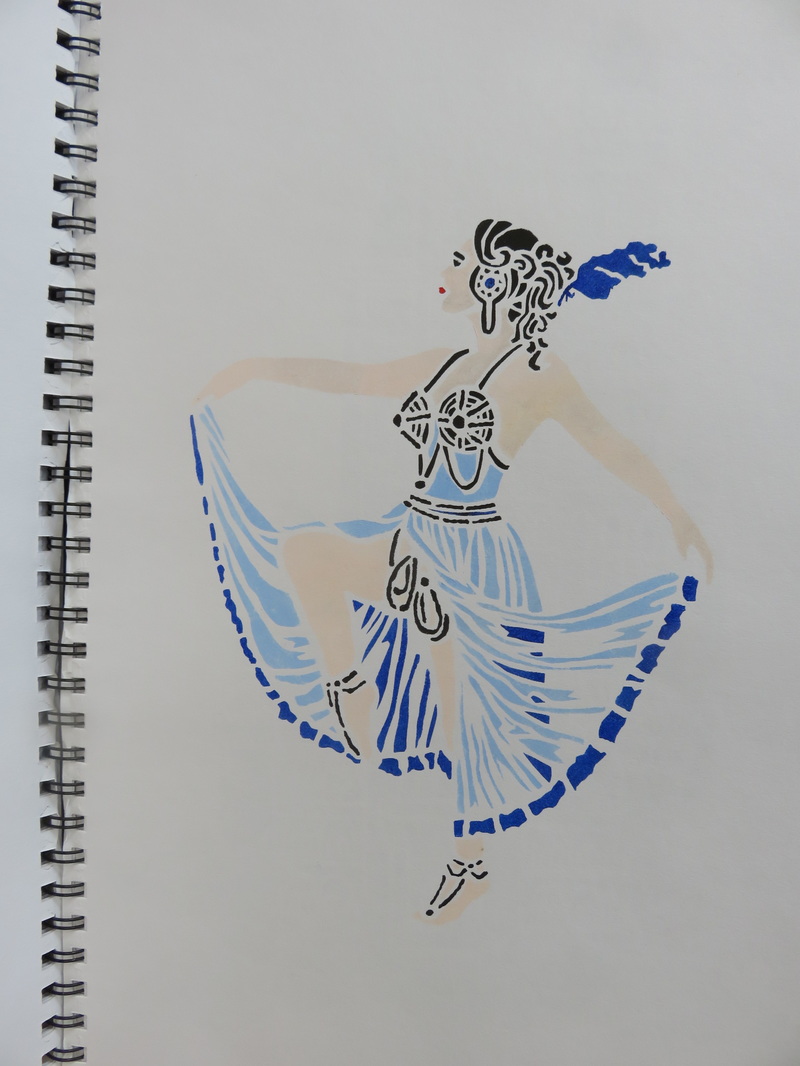
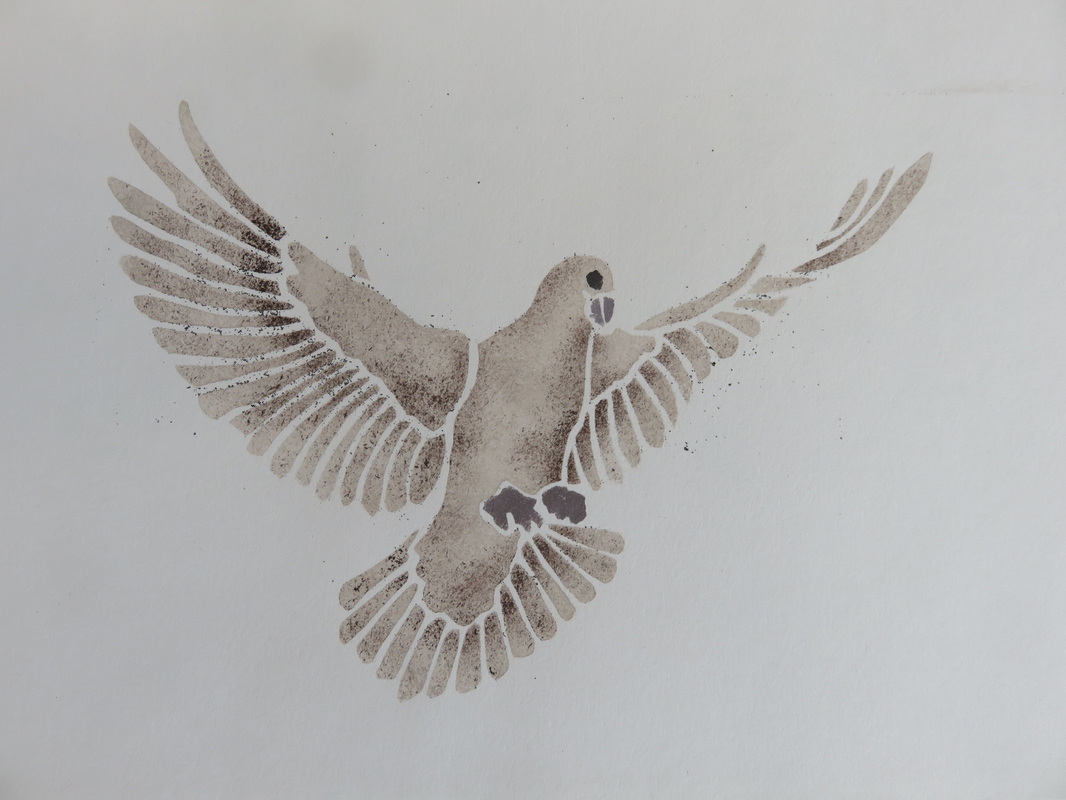
Note the use of the inclusions on the right which were necessary to mask the internal sections
Note the use of the inclusions on the right which were necessary to mask the internal sections
|
Template
|
Template
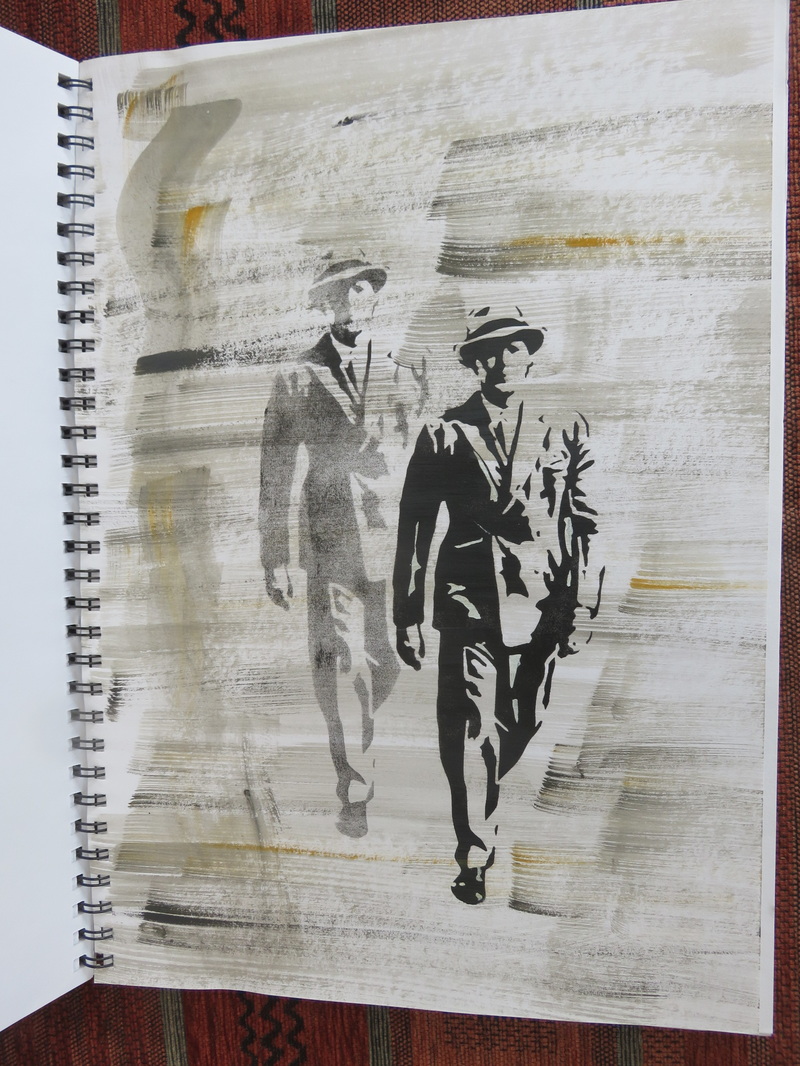
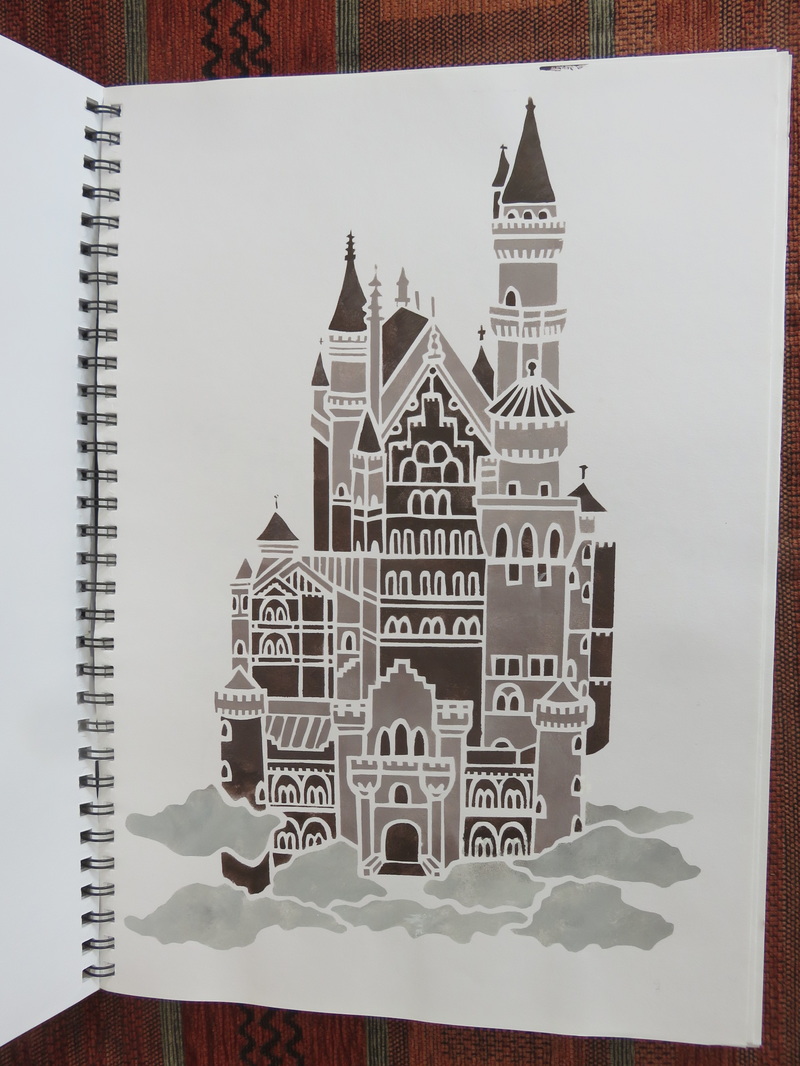
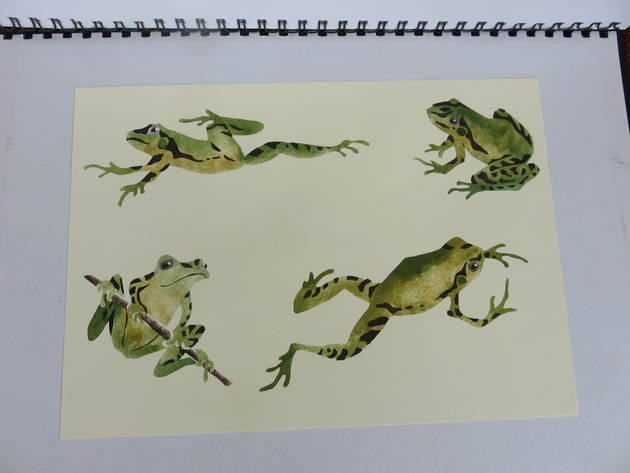
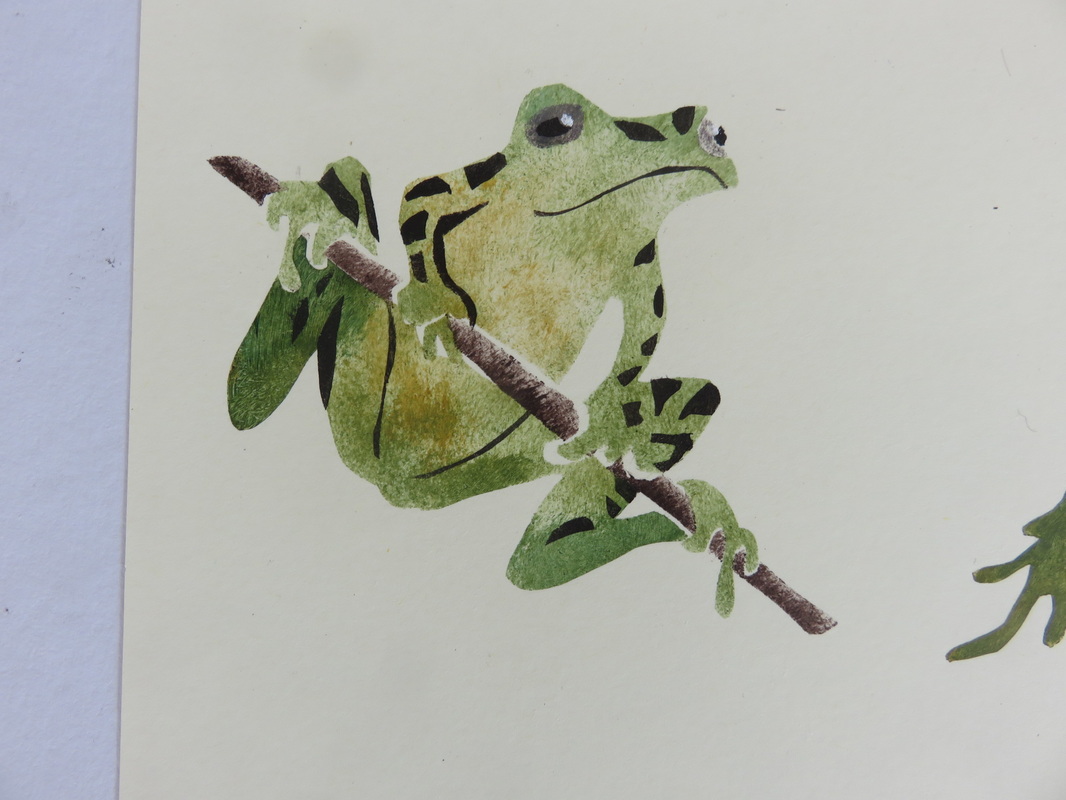
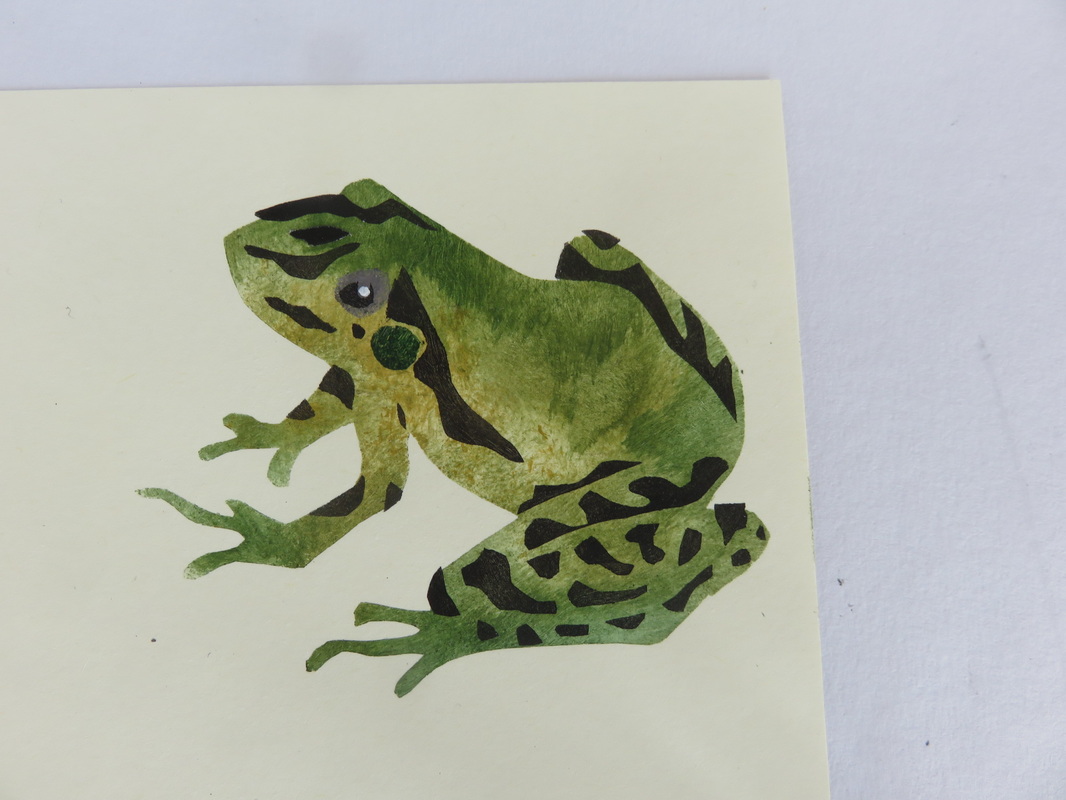
This is a full sized A3 print so needed a combination of overlapping A4 stencils to achieve the size
This is a full sized A3 print so needed a combination of overlapping A4 stencils to achieve the size
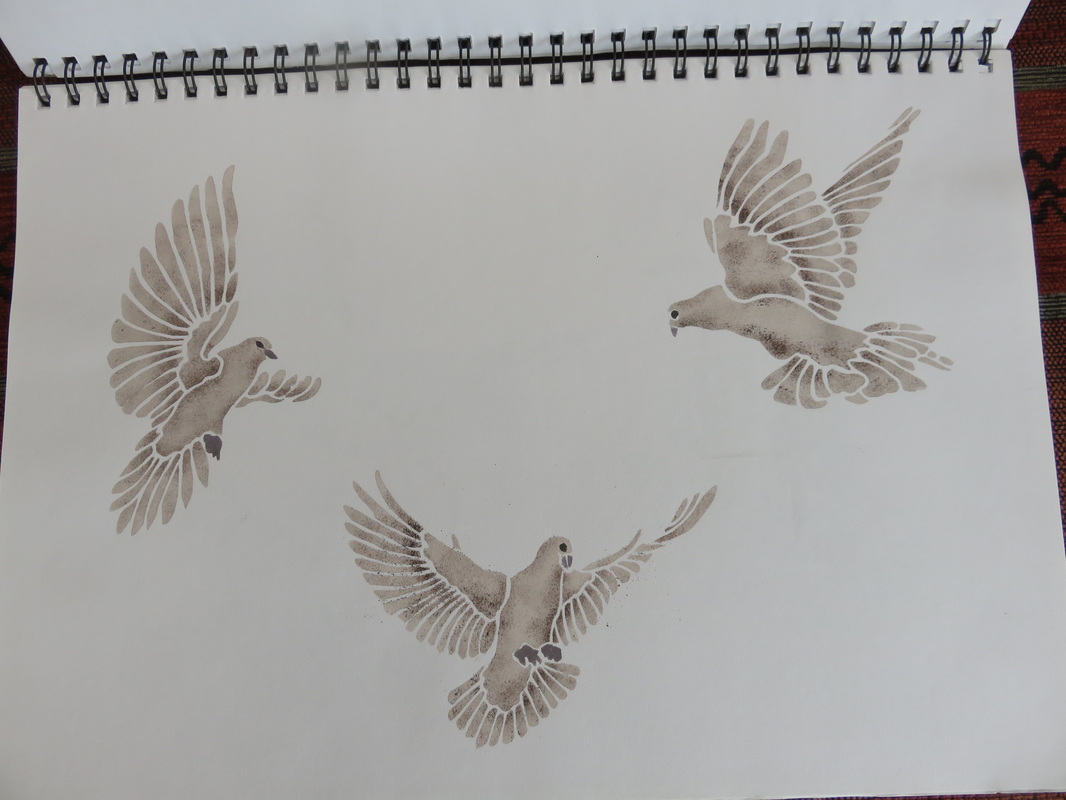
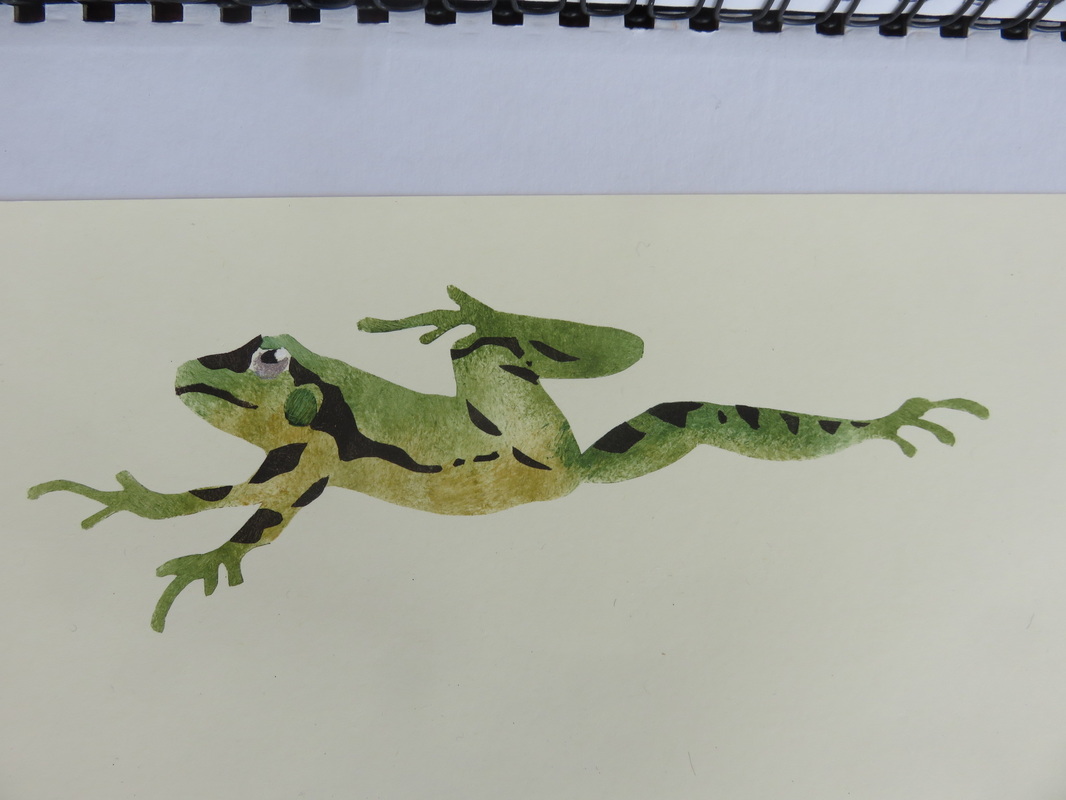
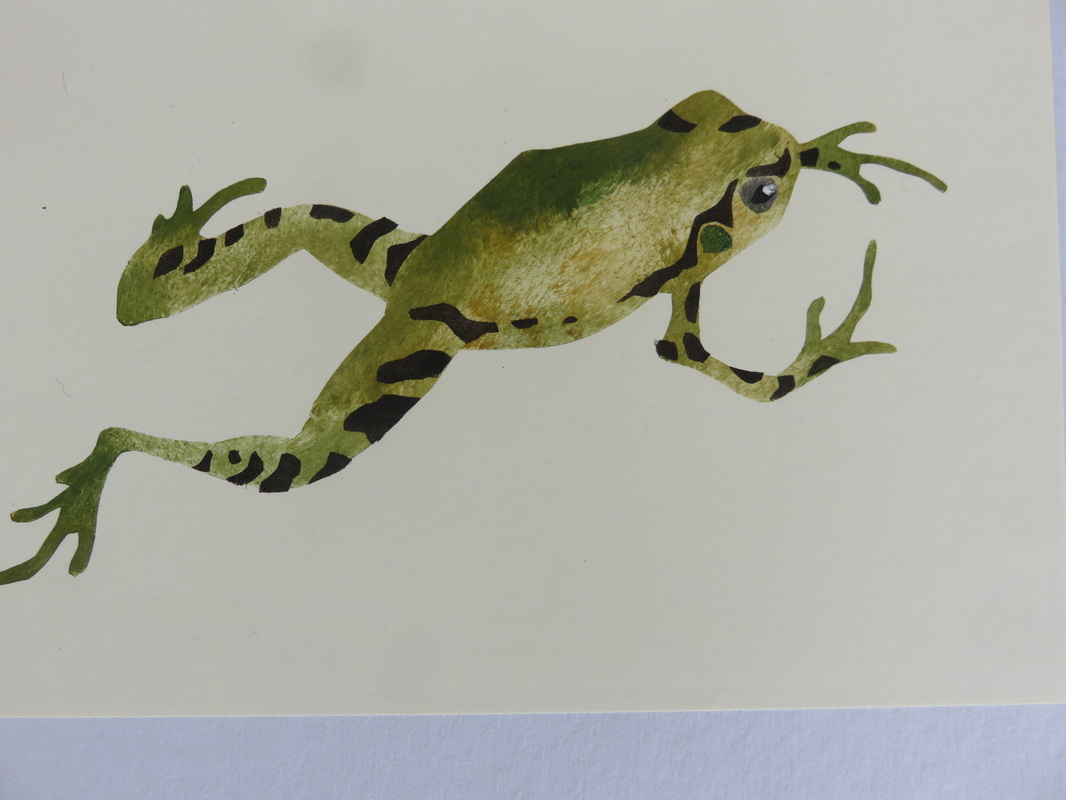
Shading as on the frogs and the doves looks great and demands no great artistic ability. Large stencils like the castle are done using several overlapping sheets as though you were producing two or three disjointed pieces which just so happen to overlap.
Template
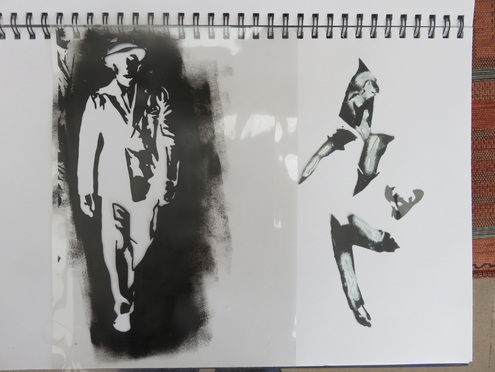
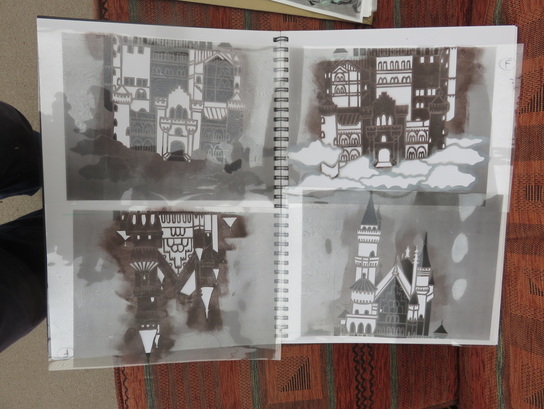
Each of the parts of this type of composite stencil can be used individually allowing you to create a different picture every time
Each of the parts of this type of composite stencil can be used individually allowing you to create a different picture every time
|
|
Template
I love producing stencils, they are very therapeutic and there is a tremendous thrill when you see the finished product. Even more so knowing you can reproduce the finished image over and over again. I originally did all the stencils you see here on loose sheets to see if they worked – only then did I do another copy in my A3 sized album so that I could keep them all together as a portfolio. I keep all the slides together too just in case I ever want to stencil my bathroom walls some years down the line.
My only limitation on stencilling has been finding suitable pictures. I’m very particular about what I choose and there are some pictures which simply can’t be stencilled due to the number of internal elements they contain (see the picture of the man in a suit for an example of this). No doubt I’ll do more, but in the meantime I moved on to another very unusual way of using a craft knife .
