mosaic, tiles, roman, floor, panel, Ceramic, Glass, Mistakes, Help, Advice, Patterns, Designs, Granville
Roman Floor Panel
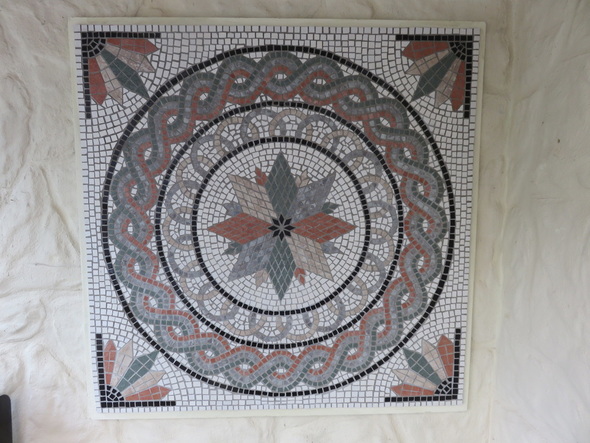
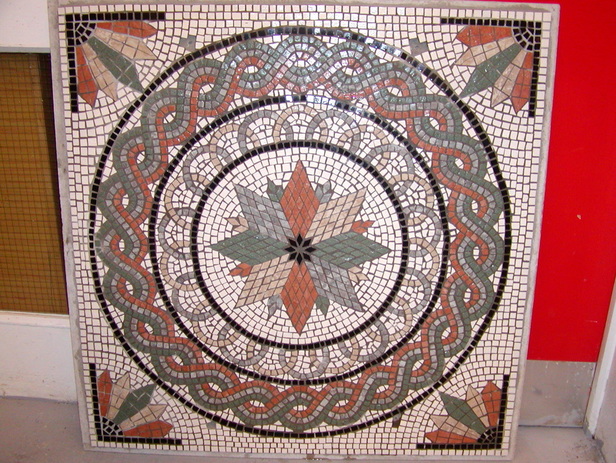
I wanted a challenge with this one and boy did I work hard to achieve this finished article. I was looking for a project that would last me most of the winter and I wanted to produce something which looked large and impressive when it was finished. I had considered trying mosaic for a while but I struggled to find anything I liked on which to base my ideas. With the greatest respect to those who do like them I feel that a lot of mosaics are a little tacky or gaudy to say the least. I wanted to reproduce either a highly colourful modern art piece or a convincing reproduction of a roman floor section. If I went for the floor it had to be something I had designed myself rather than copied.
I wanted a challenge with this one and boy did I work hard to achieve this finished article. I was looking for a project that would last me most of the winter and I wanted to produce something which looked large and impressive when it was finished. I had considered trying mosaic for a while but I struggled to find anything I liked on which to base my ideas. With the greatest respect to those who do like them I feel that a lot of mosaics are a little tacky or gaudy to say the least. I wanted to reproduce either a highly colourful modern art piece or a convincing reproduction of a roman floor section. If I went for the floor it had to be something I had designed myself rather than copied.
A long time ago I studied Mathematics and felt that I should be able to work out how to plot a circular interlinked chain. Originally I was only going to do a small sample but with one thing and another it got a little out of hand and developed into the design you see above.
Since this was my first mosaic I wasn't sure how hard wearing it was going to be and because I needed to be able to move it around the house during the making I decided to mount it on cement board even though I was making it out of 7mm thick floor tiles - a decision I'm not sure I would make again in retrospect. The finished piece is now mounted on a wall of our conservatory, never to be moved (although I have made a slight allowance for that which I'll tell you about later). In reality it is very strong and would easily have stood up to the outside weather but after the efforts it took to make I was reluctant to take the risk. It would probably have looked even better outside because it would regularly have been wet which brings out the colours at their brightest. Having said that it is meant to be pastel shades since I tried to get the colours as near as possible to some of the original Roman mosaics I've seen. I hope you like it since I shed blood, sweat and tears to produce the end result.
Since this was my first mosaic I wasn't sure how hard wearing it was going to be and because I needed to be able to move it around the house during the making I decided to mount it on cement board even though I was making it out of 7mm thick floor tiles - a decision I'm not sure I would make again in retrospect. The finished piece is now mounted on a wall of our conservatory, never to be moved (although I have made a slight allowance for that which I'll tell you about later). In reality it is very strong and would easily have stood up to the outside weather but after the efforts it took to make I was reluctant to take the risk. It would probably have looked even better outside because it would regularly have been wet which brings out the colours at their brightest. Having said that it is meant to be pastel shades since I tried to get the colours as near as possible to some of the original Roman mosaics I've seen. I hope you like it since I shed blood, sweat and tears to produce the end result.
|
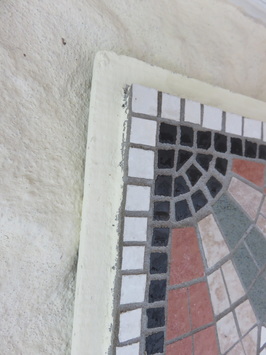
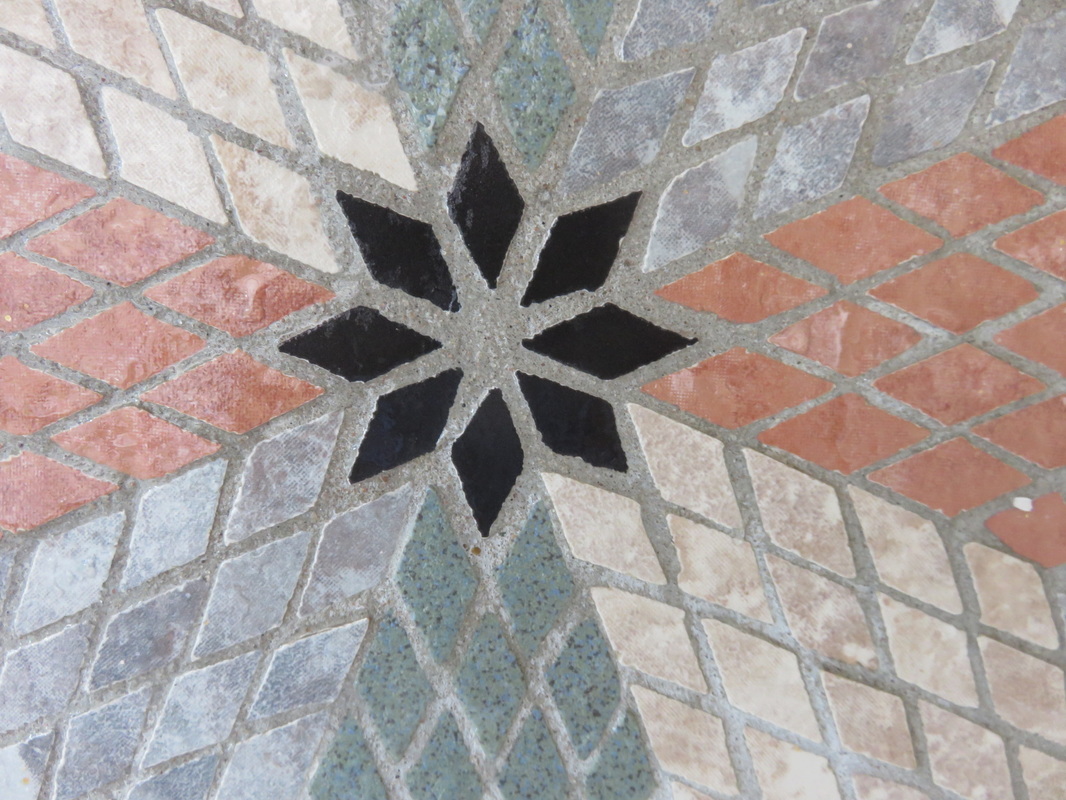
In retrospect I think the use of a grey tile and a grey grout was a mistake. I like the contrasting grey grout in the overall effect but I was limited by the range of colours available when buying this particular range of floor tiles. |
|
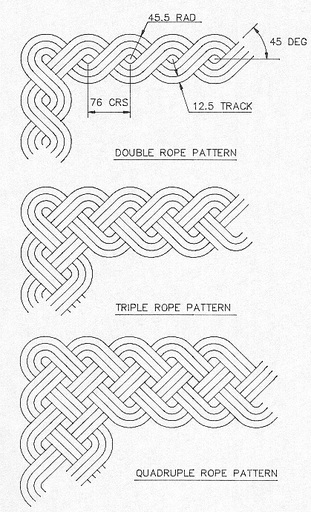
I started out by plotting the interlinked chain using compass and ruler. There are plenty of sites on the internet showing you how to draw one of these in a straight line but my biggest problem was making the design circular and most importantly making the join seamless. Once I’d worked that one out the rest was fairly simple.
Mosaics can be made in many different ways including reversing the design and producing them on a flexible sheet so that they can be positioned as required. If you are considering one I suggest you borrow a book from the library to see how the different techniques compare. However because of my complex design I felt that I wanted the pattern clearly plotted out on a hard surface before I started work. In addition my design is 30” square so the finished item would have considerable weight. The tiles themselves are mostly cut using hand tools although I have to confess to using an electric tile cutter to slice my full sized floor tiles into 1cm wide strips which I could then snip into individual pieces. If you are starting out on a mosaic I really would recommend that you start by using thinner ceramic bathroom or kitchen tiles. These floor tiles were rather too thick to cut by hand and the effort of snipping the individual pieces from my machine cut strips played havoc with my wrists. In addition tile cutting machines use water to reduce the dust so it’s a messy, cold process – especially outdoors in December … |
|
|
|
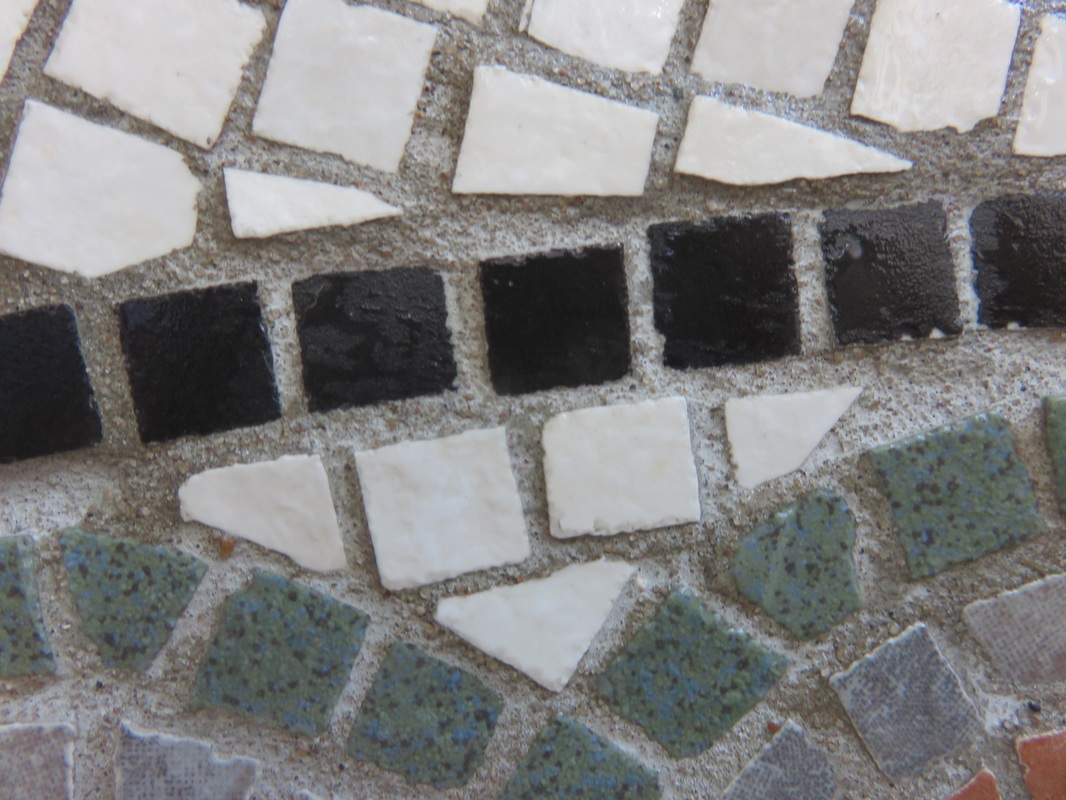
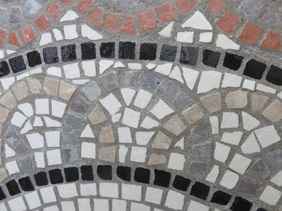
I started out by laying the three black concentric circles using the logic that these needed to be almost perfect since they would be one of the most noticeable features. From then on I had a solid framework around which I could arrange the detail. All the pieces were glued with a dab of PVA adhesive working on specific areas at a time. This gave the adhesive time to dry between working sessions and meant that I had a solid edge to work up against each time I recommenced working.
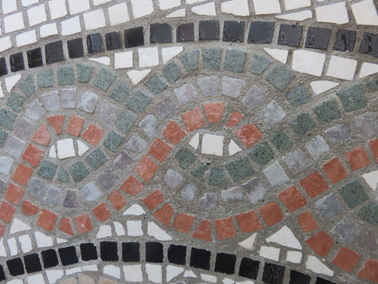
Some sessions I did nothing but produce a stock of pieces, other days I worked on the positioning and fixing. Most of the pieces were shaped in one of three ways, either square, triangular or an inward angled rectangle. By using varying numbers of the angled pieces I could then usually manage to recreate any degree of curve. By building up a stock of ready cut pieces I could at least let my wrist rest between sessions.
For the central star and the corners I reverted back to my electric tile cutter. These pieces needed to be as near perfect as possible to create the effect and there was no way I could do this by hand. Even with the machine it was very difficult to get them the same size and I only used perhaps one in three of the pieces I cut.
|

|
|
|
After several weeks the basic design was complete and all that was left was the white background. This didn’t need to be done as precisely although there were still quite a few decisions to be made especially where the curved corner fill meets the straight edge fill. Mosaics are strange in that quite often the flow pattern of the tiles is more noticeable than the shapes of the tiles themselves. Finally came the most satisfying part which was grouting the whole thing with floor cement. Until then it looked very unfinished and ragged but all at once it sprung to life as the grouting merged the various sections together. I enjoy tiling even around the house and this section of any tiling job is incredibly satisfying. |

|
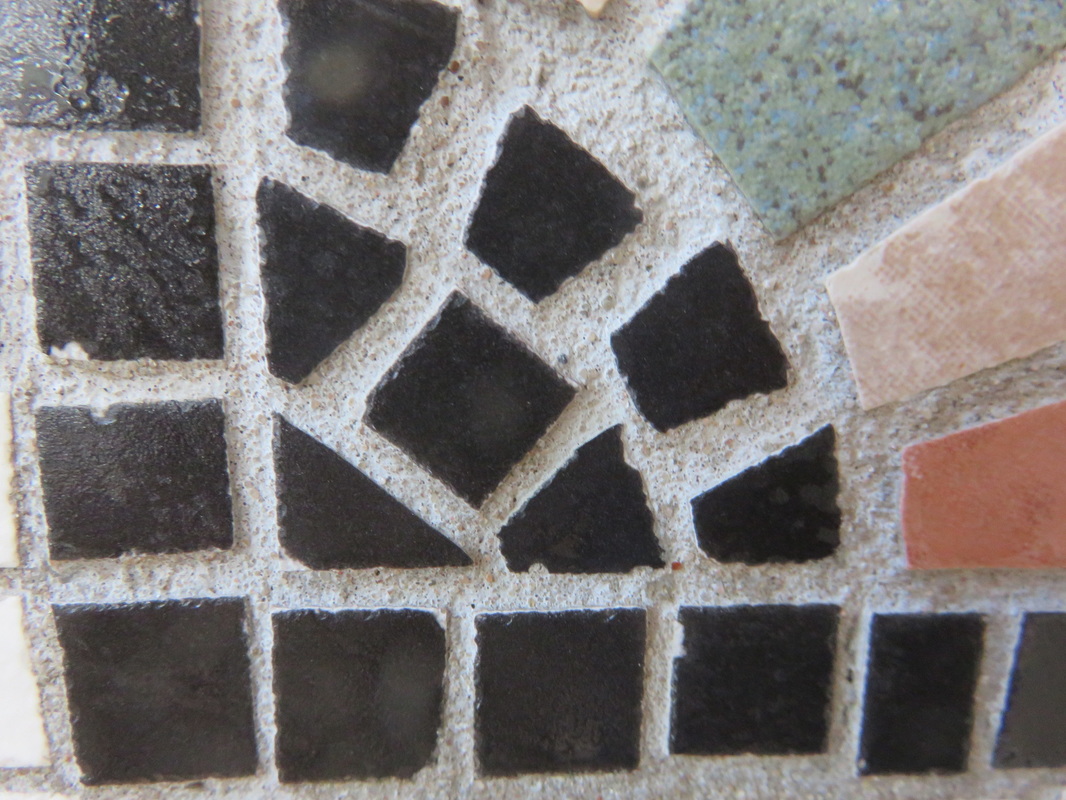
I mentioned earlier that the finished panel has been mounted on a wall and, whilst I admit it would be difficult to remove, with the right knowledge it would at least be possible (for me anyhow). Just before fixing the final few white background tiles I drilled fixing holes for screws through the cement board. I then photographed their precise locations. After finishing the project and mounting the panel I was able to fix and grout those last small pieces. It’s not a perfect answer but we’ve no intention of moving soon and I don’t feel precious as to what any new owners might do with it. If it’s possible to get a Banksy mural off a plastered wall this one should be fairly easy.
You can see the hidden fixing holes on this semi finished wet panel.
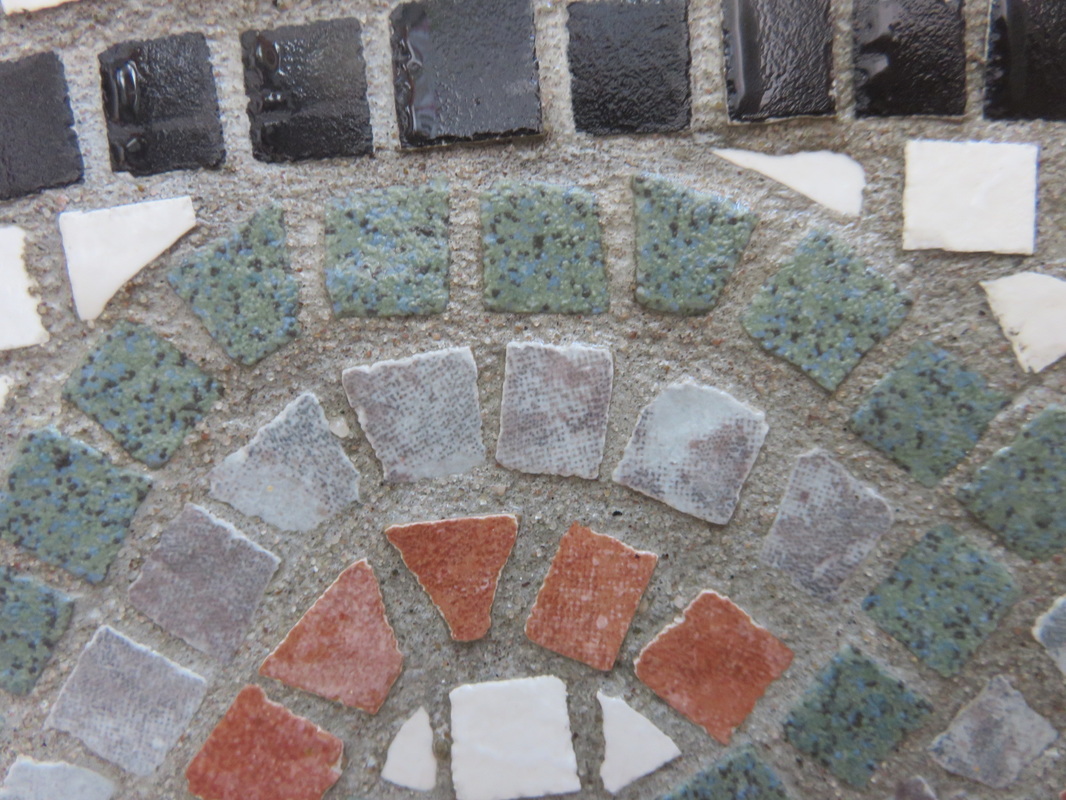
Note how the colours look much brighter when wet.
Note how the colours look much brighter when wet.
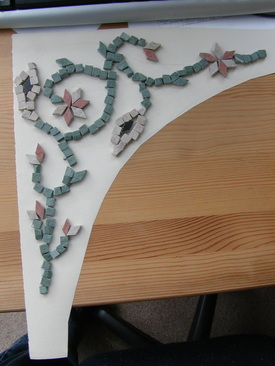
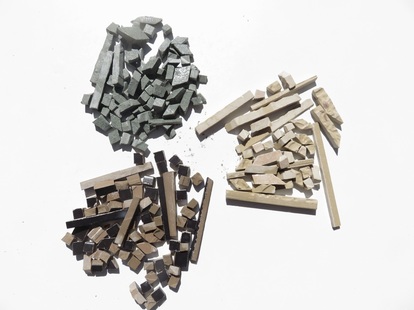
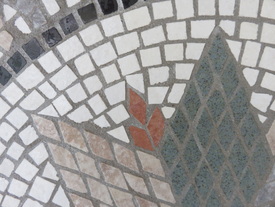
Just playing around with a few of the leftover pieces
This may have sounded a difficult project but don’t let me discourage you from trying mosaic - there are much simpler ways to start. I’m hoping to start on a new mosaic project soon so keep an eye on my blog.
I did subsequently produce one more, much simpler, piece - this time in glass and which I’ve included just to show you the versatility of this technique.
I did subsequently produce one more, much simpler, piece - this time in glass and which I’ve included just to show you the versatility of this technique.
