Paper, Making, Papermaking, Flowers, Pulp, Sizing, Stencils, Stencilling, Printing, Help, Advice, Patterns, Designs, Granville
Paper Making
Some time ago I saw a piece of craft work which absolutely amazed me. The artist had taken a pair of jeans and embedded the zip into a sheet of paper made from denim. The zip could still be operated yet the surrounding paper could be written on. It might be difficult for you to visualise but it fascinated me as to how it was done. I didn’t realise at the time that it was made out of paper but when I was told I suddenly had a burning desire to try to recreate the effect.
Ironically I’ve never yet tried to make paper from cloth. I’ve carefully stored a couple of pairs of old jeans and some lovely coloured old shirts but once I read about all the countless possibilities of papermaking my experiments went in an alternative direction. My interest drifted to another project before I got round to using the jeans but I will revisit this someday and finish what I started.
You can make paper out of almost anything that can be shredded and suspended in water. Old newspaper, cardboard, vegetables, cloth, wood pulp – it’s a long list if you consider all the possibilities. Some are harder than others to work with and each produces completely different results. If you’re just starting out I suggest you begin with shredded paper, it produces consistent results and requires less preparation.
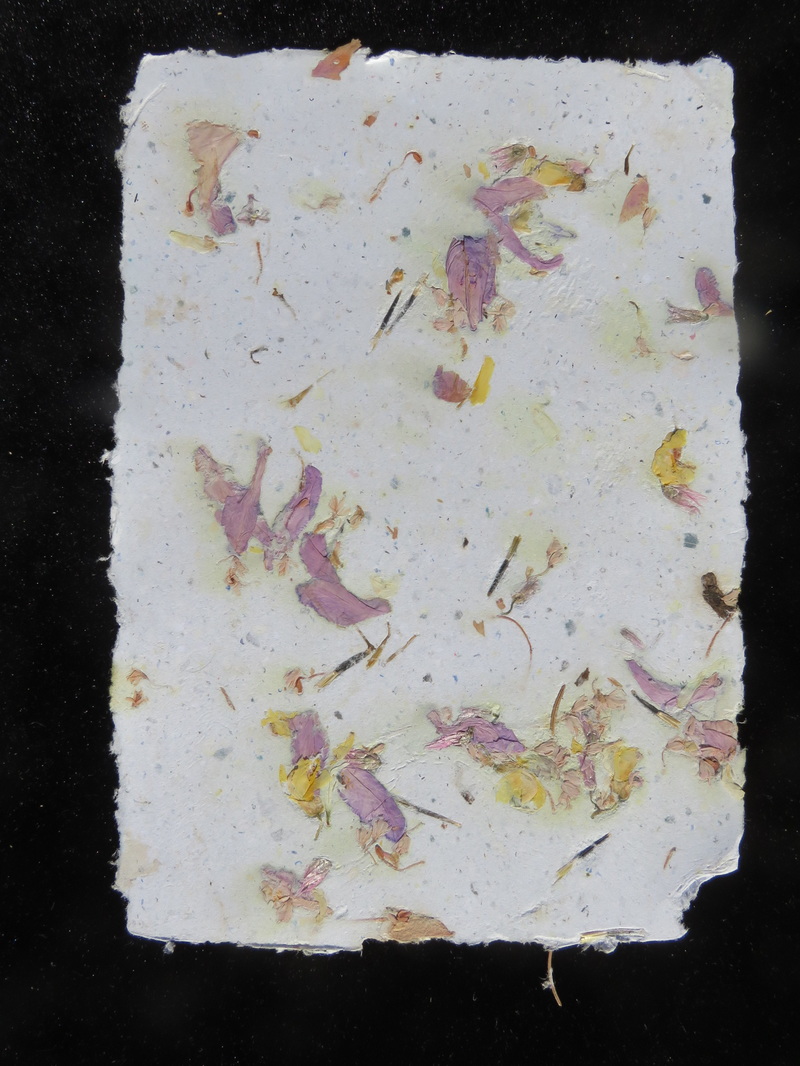
Flower Petals
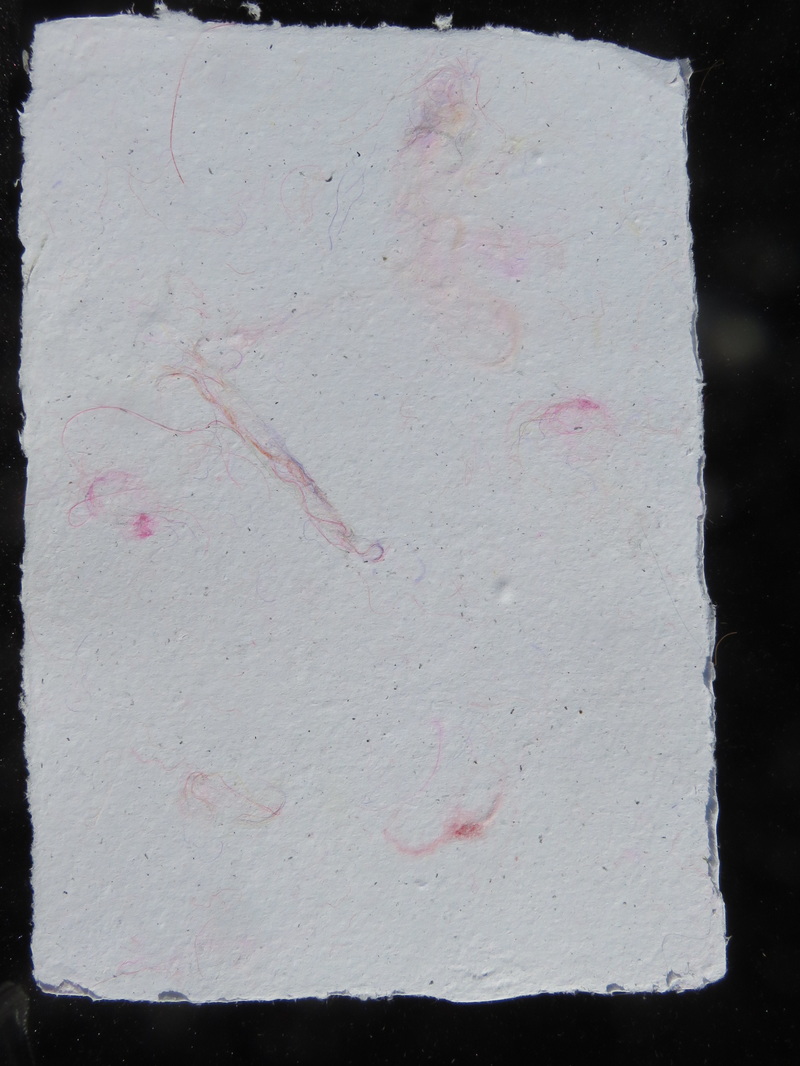
Cotton Threads
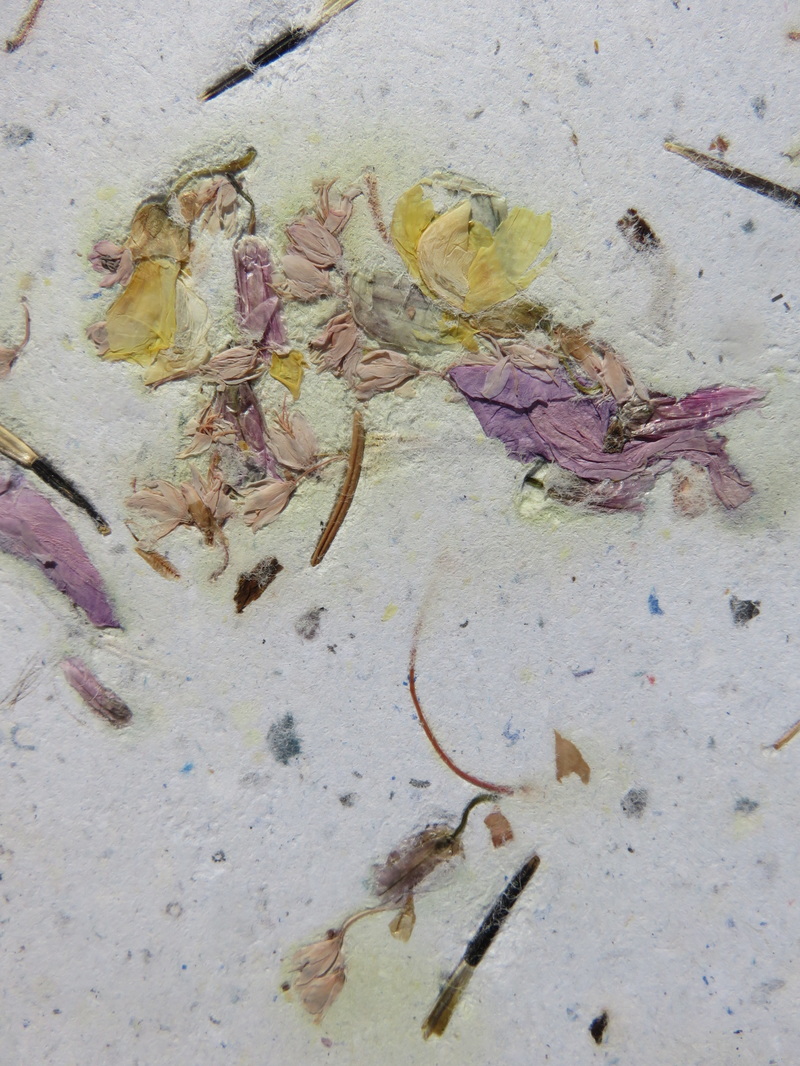
Flower Heads
|
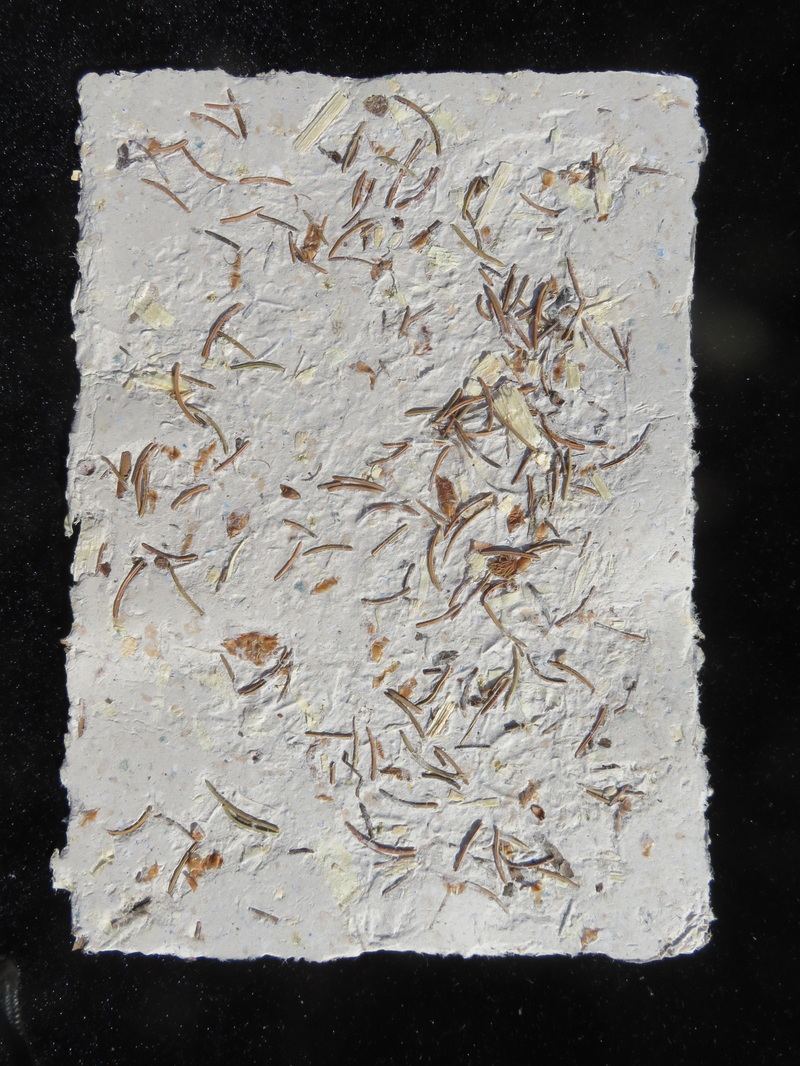
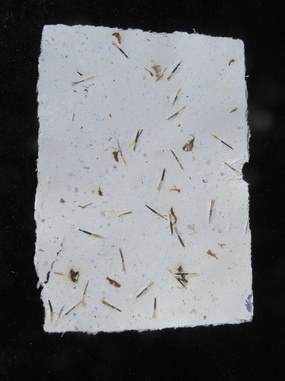
Pine Needles
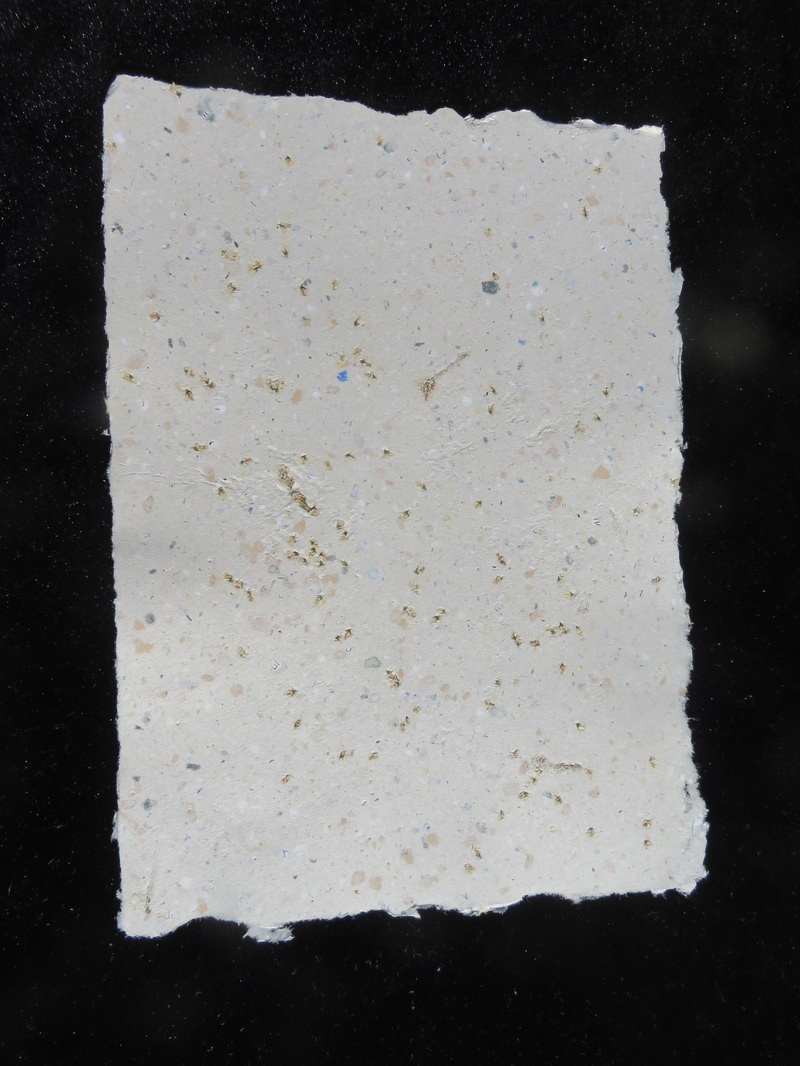
Seeds
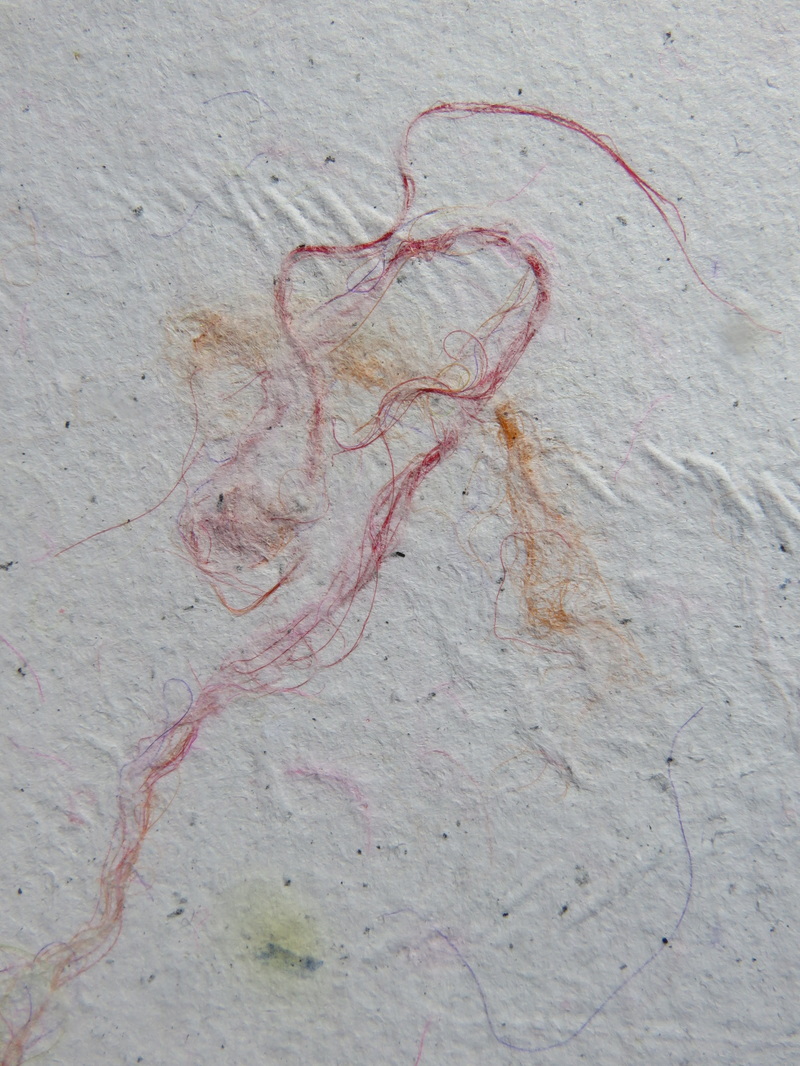
Cotton Threads
|
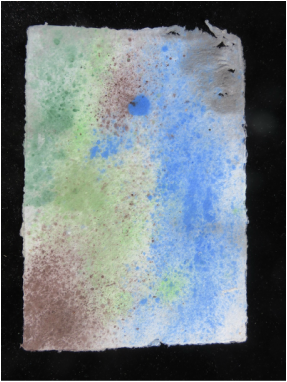
Acrylic Paint
Garden Debris
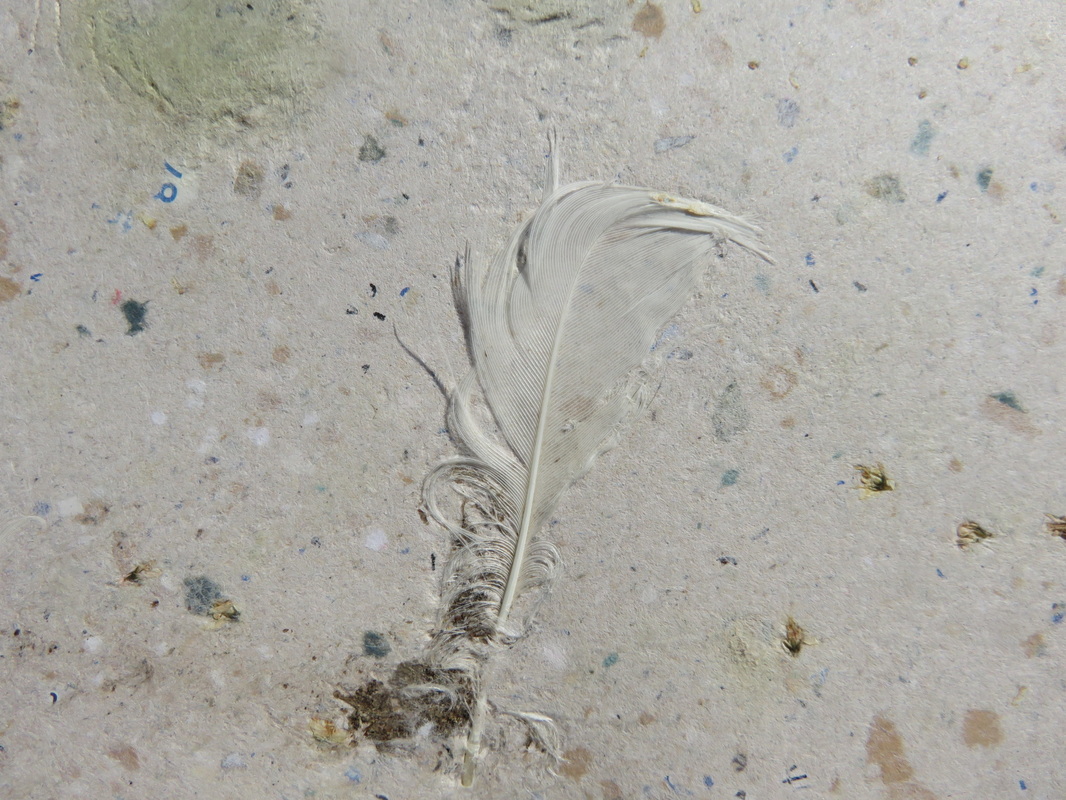
Feather
|
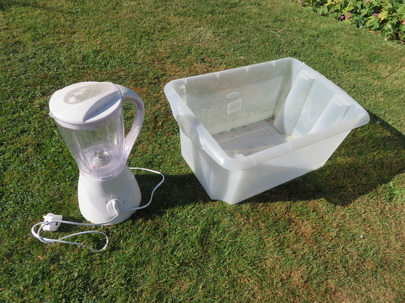
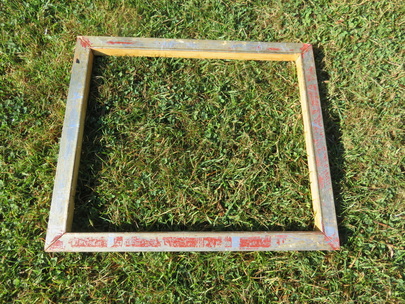
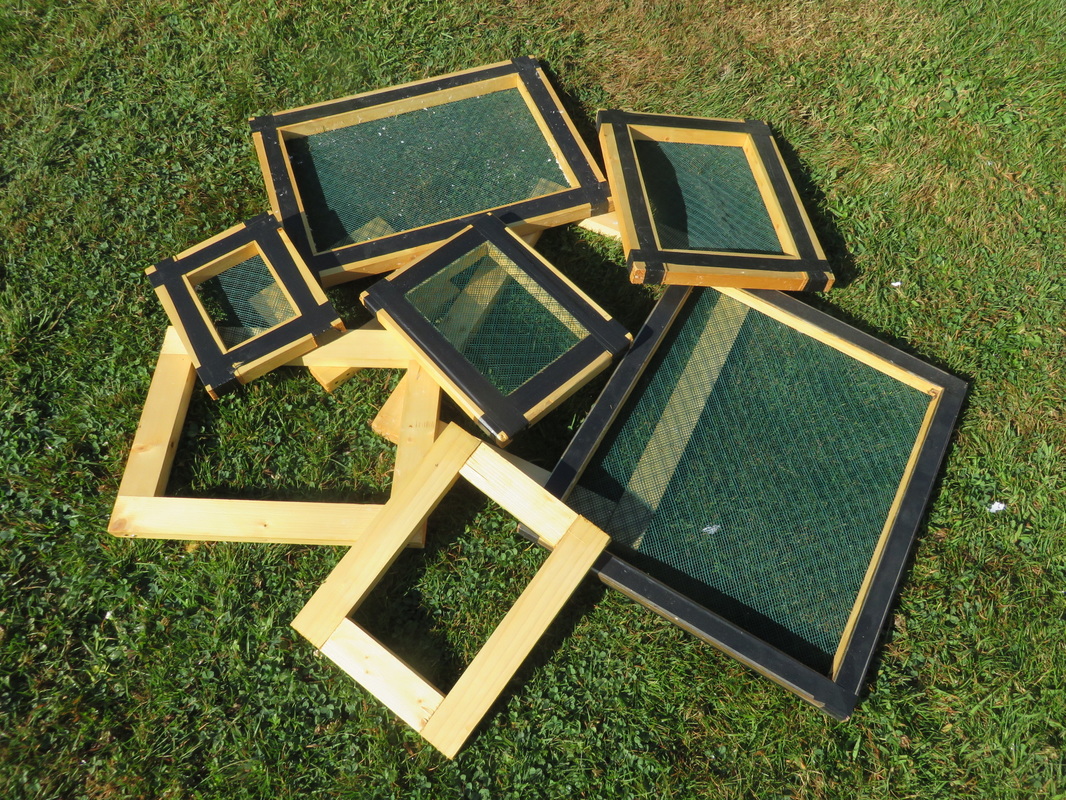
Yet again there are many videos on the internet about paper making but the basic process is that you soak then shred paper or fibre (using an old food processor if possible – I picked one up at a car boot sale for £2). This is then added to a VAT of water and stirred to keep the particles in suspension. From there you need a mesh frame of some type to lift a small quantity of pulp out of the VAT – this is called a deckle and can be something as simple as an old picture frame covered with plastic mesh. The extracted pulp then needs to be turned out of the frame, pressed and dried. Obviously all of these processes have a technique which needs to be learned and practised but all of them are easy enough in themselves. The paper you produce will have the absorbency of blotting paper and is suitable for all sorts of other craft projects from lampshades to origami. However you need to add something called size to the pulp in the VAT to make the paper suitable for writing.
.
|
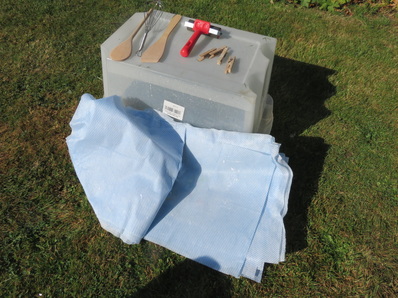
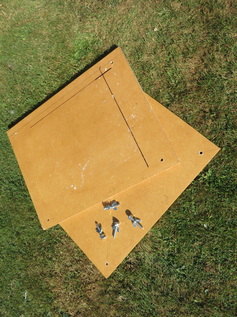
A few of the bits and pieces you need
|
|
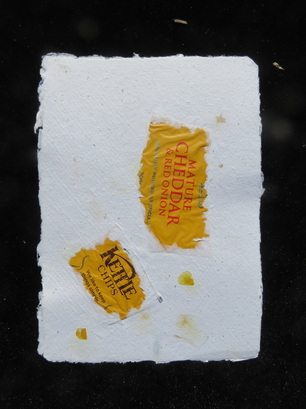
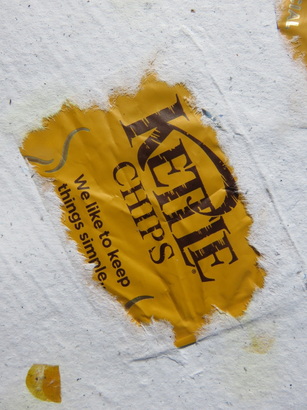
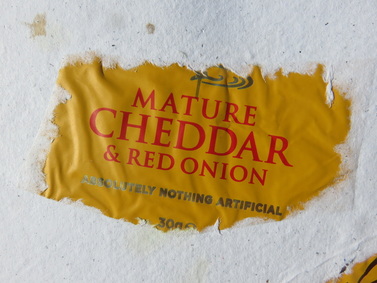
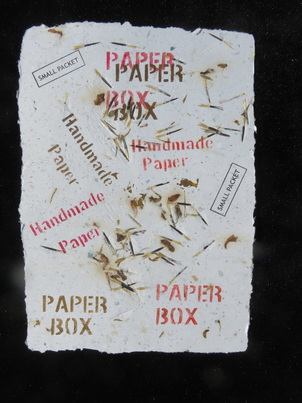
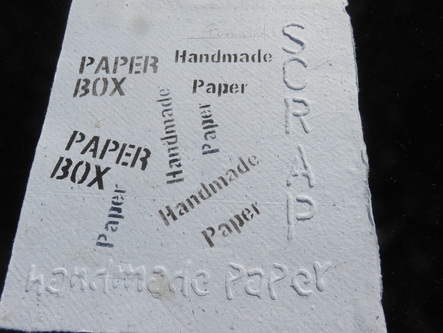
You can add almost anything to the pulp - garden debris, flowers, feathers, coloured cottons, paints, etc … and it’s even strong enough to hold substantial inclusions such as pieces of metal. I’ve experimented with a few and included pictures here just to show you what is possible. I was particularly impressed with the Diet Coke can.

|
|
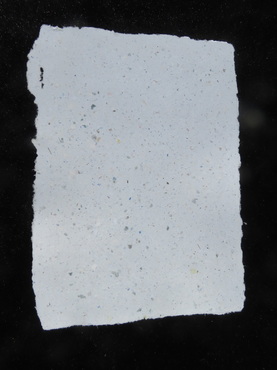
Most of the sheets you see in the pictures were experiments but I have also produced a reasonable quantity of normal sized simple writing sheets which I used for calligraphy. Less is often better in adding inclusions to the pulp, especially if you want to use your paper for writing. Some of them worked well, many of them didn’t, but all produced a sheet of paper which you could use for some other form of craft project.
|
|
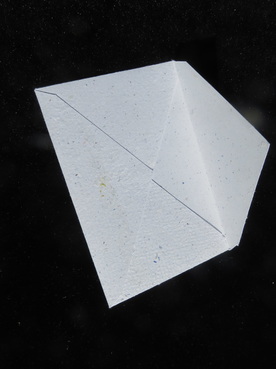
One particularly attractive thing you can make from homemade paper is envelopes which can be cut using an old envelope as a template. If you do try this make sure that you keep the deckle edge on the folding flap. |
|
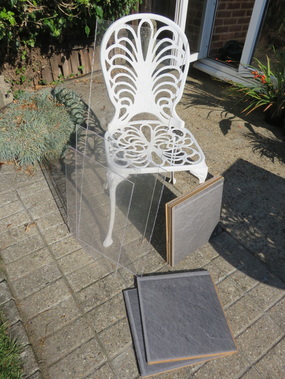
To get a smooth finish you need to press and dry your paper on a smooth surface and I managed to pick up a few sheets of polycarbonate offcuts on EBay which give an absolute mirror finish. Sheets of glass would produce the same effect but are heavier to handle. I also use floor covering offcuts I had lying around which gives a pleasing slight ripple effect. |
|
|
|
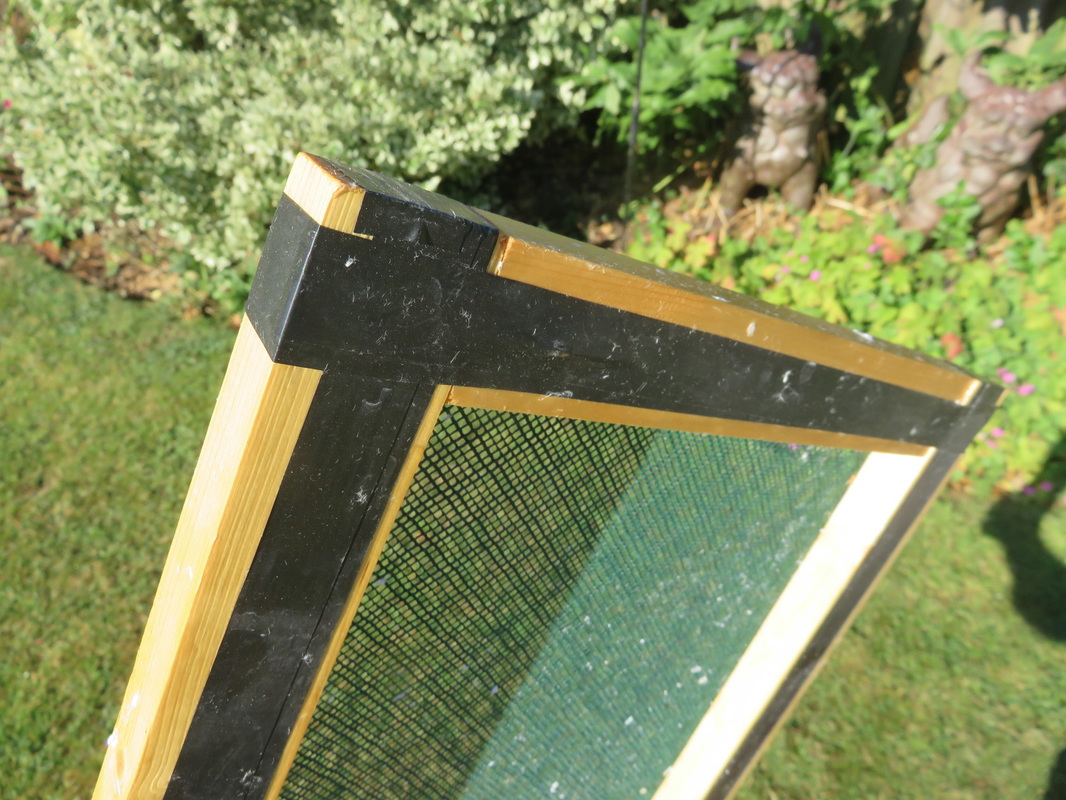
Since I had the wood and the mesh I made a whole series of deckles in various sizes. Once you make a sheet of paper you don’t want to have to cut it down to size since you lose the rippled edge (the deckle edge) which is such a distinctive and attractive feature of handmade paper. This enabled me to make a whole series of matching but different sized sheets each time I made a batch of pulp.
Since I had the wood and the mesh I made a whole series of deckles in various sizes. Once you make a sheet of paper you don’t want to have to cut it down to size since you lose the rippled edge (the deckle edge) which is such a distinctive and attractive feature of handmade paper. This enabled me to make a whole series of matching but different sized sheets each time I made a batch of pulp.
|
|
|
|
For the press I varnished two pieces of MDF and used wing nuts to create the variable pressure. It works well and I can build up quite a stack of paper before pressing them all together (which you do by interspersing each sheet of newly made paper with an absorbent cloth). Paper making tools can all be bought (at a price) via the internet, and I believe there are even kits available, however it’s much simpler and cheaper to make your own. Bear in mind though that if you do end up making any of your own equipment you will need to seal it with varnish. There is a lot of water involved in making paper. |
Paper making a very satisfying and creative craft with endless possibilities for progression and there are some real artists out there making some fantastic pieces from both the finished paper and the moulded pulp. It can however be a cold messy job so you need space and decent weather. I had neither, the year I tried, and the unpleasantness of dealing with cold wet equipment on icy winter days discouraged me a little. If you read in the About Me section of this website you will see that my craft projects are intended to occupy the cold winter months – I’ve lots of other things to be getting on with during the warm summer weather. Paper making is definitely something I'll return to but for the moment all my equipment is stored away in the attic. It was a very interesting project though and one which gave me an enthusiasm for other paper related projects – albeit ones I could carry out indoors …
